In the world of DIY, there are a million ways to solve any problem. So if you’re looking for a way to keep your cat entertained, why not try building them their own bridge? It’s easy, and you probably have most of the materials lying around your house. Best of all, it will keep your kitty happy and amused for hours on end. Read on for instructions on how to build a cat bridge.
Contents
What Is a Cat Bridge?
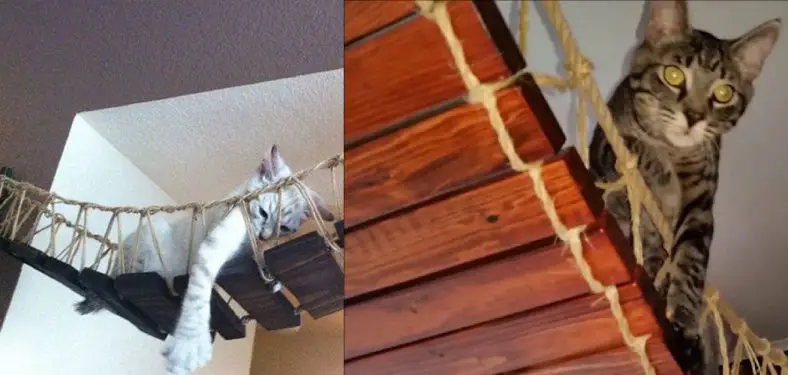
A cat bridge is a structure that allows cats to cross safely over a busy street or other hazards. Cat bridges are becoming increasingly popular in urban areas to protect our feline friends. They typically consist of platforms or walkways, often with railings or walls to keep cats from falling off.
Some cat bridges have additional features like ramps, toys, and sleeping areas to make them even more appealing to our four-legged friends. In short, a cat bridge is a safe and fun way for cats to explore their surroundings while keeping them out of harm’s way.
Why Should You Build a Cat Bridge?
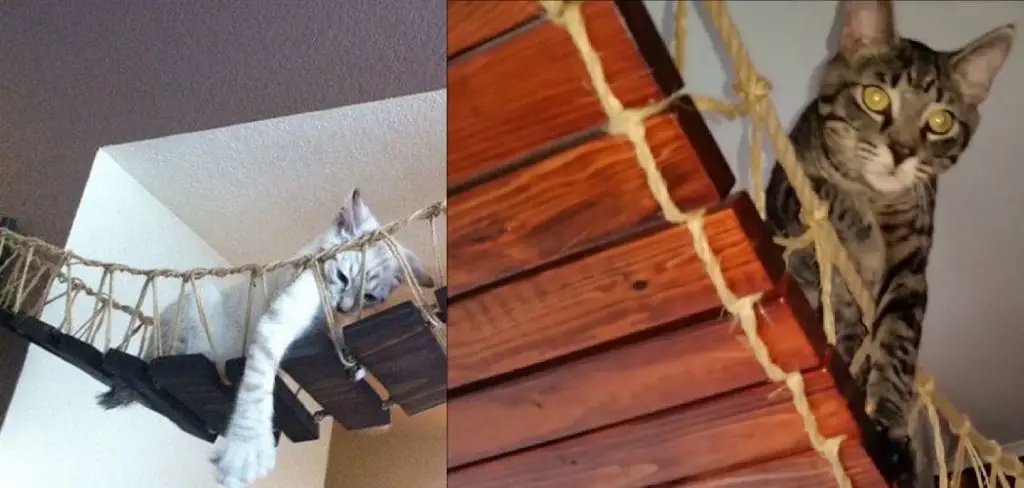
If you have a cat, you know that they love to explore. They like to climb to high places and bat at things that move. Unfortunately, this can lead to dangerous situations, such as running into the street or scaling a tall tree.
A cat bridge can provide your feline friend with a safe place to play while reducing the risk of accidents. Bridges come in all shapes and sizes, so you can find one that fits your budget and your cat’s personality. Some even come with attached toys or scratching posts, making them the perfect spot for a nap or a game of chase.
So why not give your cat the gift of a safe outdoor adventure by building a bridge of their own?
Things You’ll Need
To Build a Cat Bridge, You’ll Need the Following Supplies:
- Two pieces of wood, each at least 2 feet long and 6 inches wide
- Four pieces of rope or twine, each at least 2 feet long
- A drill
- A saw (optional)
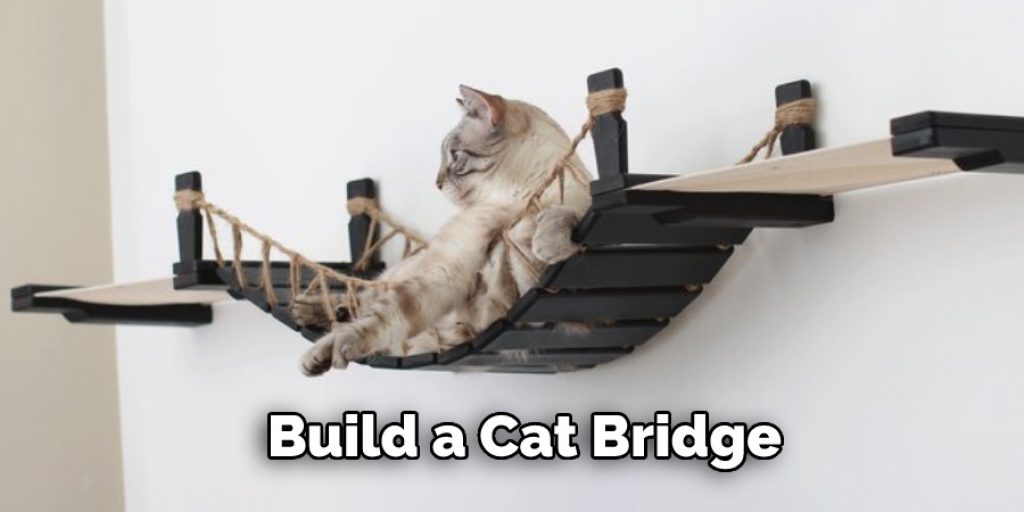
How to Build a Cat Bridge Step by Step Guide
Building a cat bridge is a great way to give your feline friend extra exercise and stimulation. Not only will your cat love it, but you’ll also enjoy watching them play and explore.
1. Cut the Wood
You’ll need two pieces of wood that are the same length. The width and thickness of the wood will depend on how wide and heavy your cat is. If you’re not sure, play it safe and go with a wider and thicker piece of wood.
2. Drill Holes
Next, you will need to drill holes into the supports for your bridge. The number of holes will depend on the size of your bridge and how many cats you want to be able to use it at once. A rule of thumb is to drill one hole for every eight inches (20 cm) of length.
If you are using a 2×4 for your support, you will need to drill two holes. If you use a 4×4, you will need to drill four holes.
3. Thread the Rope
Cut a length of rope twice the distance you want your cat bridge to span. For example, if you want your bridge to span six feet, cut a length of rope that is twelve feet long. Tie a loop in one end of the rope, and thread the other end through the loop to create a large slipknot.
4. Tie the Rope
Attach one end of the rope to each post using a strong knot. Please ensure the knots are tight and secure so your cat can’t pull them loose. You may need to use a second rope for added stability.
5. Add Faux Fur
Cover the rope with faux fur or another fabric of your choice. This will make the bridge more comfortable for your cat to walk on. You can also add a nonslip surface to the top of the bridge to prevent your cat from slipping.
6. Hang the Bridge
Use the enclosed hardware to hang your bridge. Place the hooks an equal distance from each other on the underside of your bridge, and use zip ties or another sturdy material to secure them. Make sure that the bridge is level and secure before allowing your cat to use it.
7. Enjoy
That’s it! You’ve now built a sturdy, stylish cat bridge that will provide your feline friend with hours of enjoyment. Be sure to monitor the bridge regularly, and perform any necessary repairs or replacements. With a little care, your cat bridge will provide years of fun for your whole family!
Now that you know how to build a cat bridge, it’s time to start! Gather your supplies, and follow the steps outlined above. Be sure to measure and drill the holes correctly, so your bridge is stable and safe.

Once your cat bridge is complete, monitor it regularly and perform any necessary repairs or replacements as needed. With a little care, your cat bridge will provide years of fun for your whole family!
What Type of Material Should I Use to Build the Bridge?
The most important consideration when choosing a material for your bridge is safety. Be sure to use sturdy, weather-resistant materials that can support your cat’s weight. Some good options include wood, rope, and metal.
You should also consider the comfort of your cat. Be sure to choose a nonslip and comfortable material for your cat to walk on. Faux fur or another soft fabric is a good option.
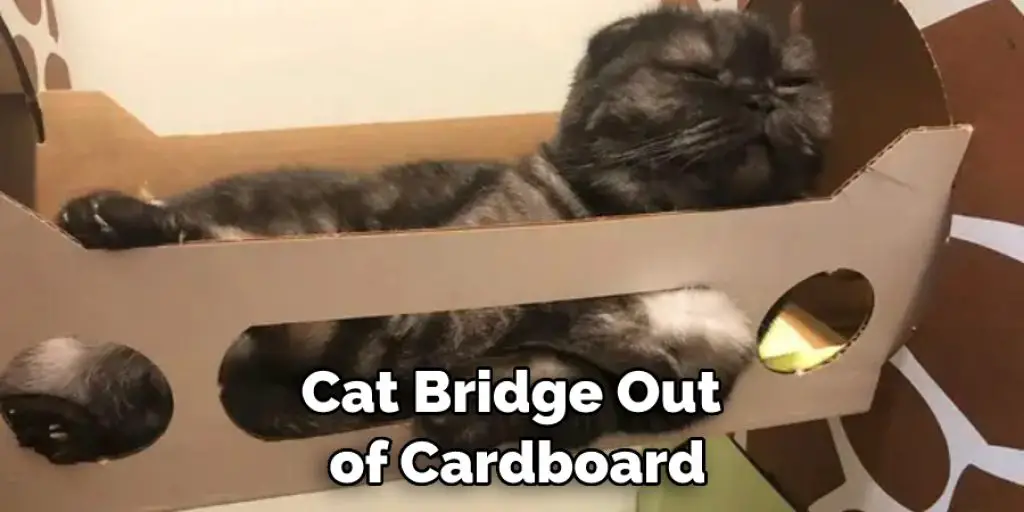
How to Make a Cat Bridge out Of Cardboard
Building a cat bridge is a great way to give your feline friend some exercise and make your home more cat-friendly. Plus, it’s a fun project you can do with your kids! All you need is some cardboard, duct tape, and a few other household items. Here’s how to get started:
1. Cut two pieces of cardboard into 3 feet long and 1-foot wide rectangles. These will be the sides of your bridge.
2. Make two more rectangles 2 feet long and 1 foot wide. These will be the middle supports for your bridge.
3. Tape all four rectangles together, leaving an opening in the middle for your cat to walk through.
4. Cover the entire bridge with duct tape or another sturdy material. You want to make sure it can support your cat’s weight!
5. Place the bridge in an area where your cat likes to spend time, such as near a window or scratching post. Encourage them to use it by placing some toys or treats on the other side.
With a little effort, you can easily create a fun and functional cat bridge that will provide hours of entertainment for your furry friend! Keep reading for more information about how to build a cat bridge.
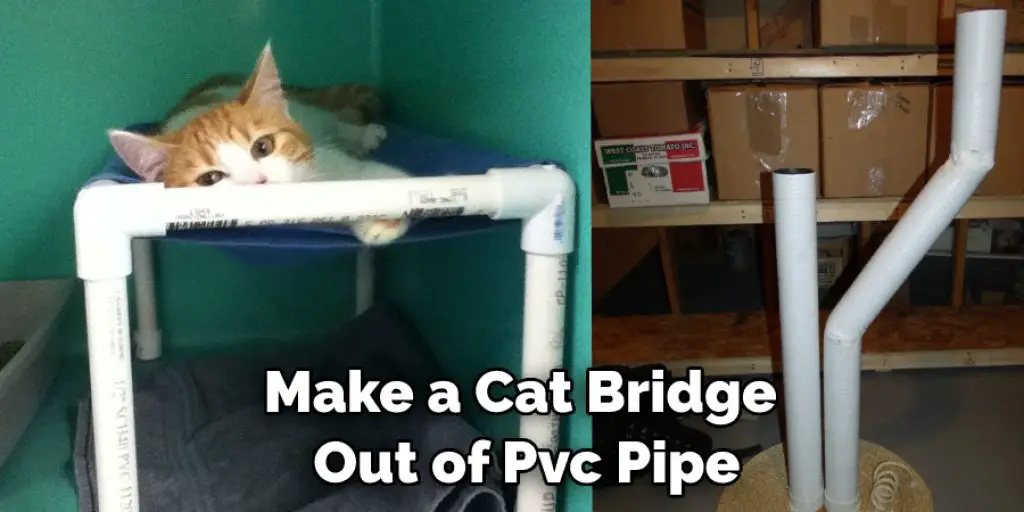
How to Make a Cat Bridge out Of Pvc Pipe
Cat bridges are a great way to keep your feline friends happy and active. And what could be more fun than making your cat bridge out of PVC pipe? Here’s how:
1. Start by measuring the length and width of your available space. You’ll need two pieces of PVC pipe for each foot of length and one for each foot of width. For example, if your space is 10 feet long by 5 feet wide, you’ll need 20 pieces of PVC pipe that are 10 feet long and five pieces that are 5 feet long.
2. Cut the PVC pipe into pieces using a saw. You can use a sharp knife or scissors if you don’t have a saw. Just be careful not to cut yourself!
3. Once the pieces are cut, it’s time to start assembly. Begin by attaching two 10-foot pieces at one end using PVC glue or tape. Then, do the same with two of the 5-foot pieces. Continue until all of the pieces are attached in a rectangular shape.
4. Next, cut out some “X” shapes from cardboard or thin wood. These will be placed at the joints where the PVC pipe pieces meet and help keep the bridge sturdy.
5. Once the “X” shapes are in place, it’s time to add the handrails. Cut two more pieces of PVC pipe (or use dowels or rope) that are long enough to span the length of the bridge. Attach them to the sides of the bridge using PVC glue or tape.
6. And that’s it! Your cat bridge is now ready for use. Just add some cushions or blankets to make it more comfortable, and your feline friends will surely love it.
Frequently Asked Question
What Type of Rope Should I Use?
If you’re looking for a strong and durable rope, polypropylene rope is a good option. This type of rope is often used in marine applications to stand up to some wear and tear. Just be sure to choose a rope that has a breaking strength that is appropriate for the size of your cat bridge.
How Wide Should the Bridge Be?
Width is important when building a bridge for your cat. You want to ensure enough room for them to walk across without feeling too cramped. A good rule of thumb is to make the bridge at least two feet wide.
How High Should the Bridge Be?
The bridge’s height is important, as you want it to be high enough that your cat can comfortably walk across but not too high that they could feel scared or intimidated. A good height to aim for is around 2-3 feet.
Conclusion
So there you have it – a simple guide to building your very own cat bridge! All that’s left now is for you and your feline friend to get started on construction. We hope you enjoy this fun DIY project – and send us pictures of the final product! Thanks for reading our post about how to build a cat bridge.