If your dog has recently undergone surgery, you will likely need to remove the sutures yourself. Removing stitches from a dog can be a bit daunting, but it can be done relatively quickly with the right tools and instructions. This article will provide you with all the information you need to remove stitches from your dog safely and effectively. Follow these steps on how to remove sutures from a dog, and your furry friend should be good as new in no time!
Sutures are used in surgery to hold the incision closed while it heals. How long a dog needs stitches varies from animal to animal, but one thing is for sure – removing stitches from a dog isn’t something you want to wait for long on. A veterinarian will tell you when your canine’s sutures need to be removed, but in some cases, they may not, leaving the job up to you.
Contents
A Step by Step Guide on How to Remove Sutures From a Dog
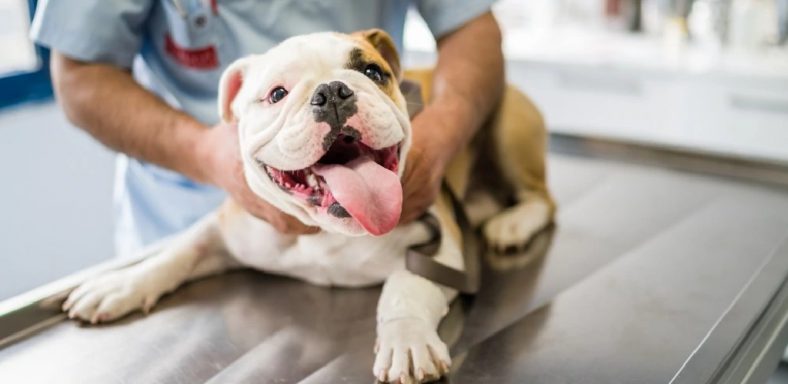
Step 1: Assess Your Dog
If you think something is wrong with your dog, the first thing to do is check for any redness, swelling, lumps, or signs of infection. If you see anything out of the ordinary, call the vet right away.
After ensuring no signs of complications, carefully clean the site with saline (saltwater) and sterile gauze pads. Be sure not to scrub but dab at it with new gauze squares. Allow them to sit on the wound without wiping for about 30 seconds before discarding them.
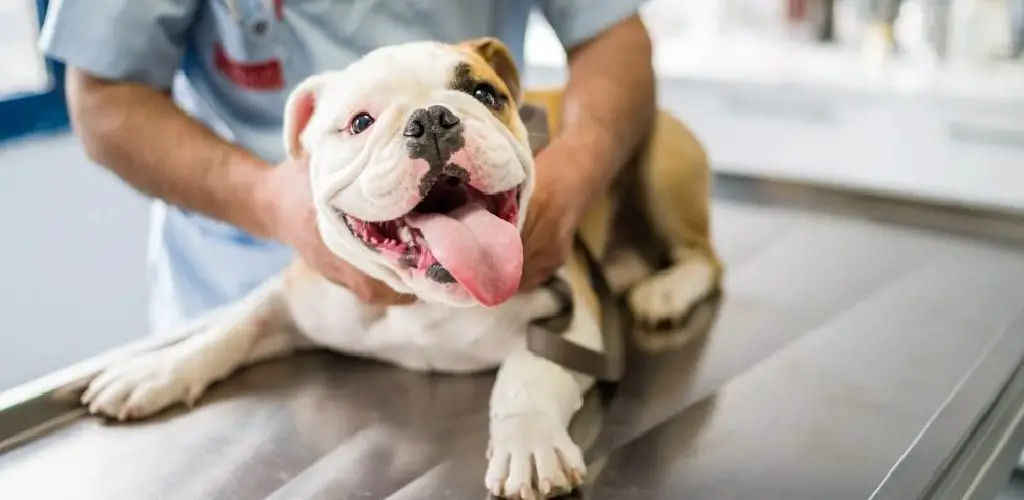
Step 2: Prepare Your Dog
If your dog is like most pets and hates going to the vet (or anywhere), getting him ready for this procedure isn’t easy. Here are some tips to make the process go more smoothly:

- Scissors (preferably ones designed for this task)
- Topical anesthetic cream or spray (optional)
Step 3: Calm Your Dog Down and Prepare the Area
Before you begin, make sure your dog is calm and let you do what needs to be done. Use treats or toys to keep your dogs mind off the process. Make sure everything is close at hand before you attempt to cut those pesky sutures out! Choose a space like a bathroom where there’s lots of light and room for both of you as well as all the equipment if needed.
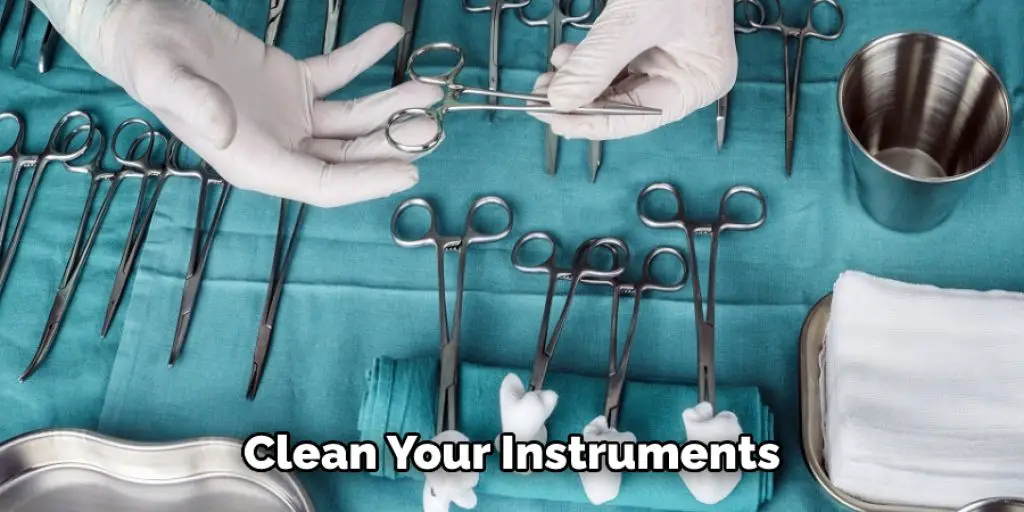
Step 4: Clean Your Instruments
You wouldn’t go into surgery with dirty hands, so make sure both you and your dog are clean before starting. First, wash your hands with antibacterial soap to avoid infection. Then let the area where you’ll be cutting dry completely before using any tools.
Step 5: Disinfect the Area
If possible, use an antiseptic spray or cream on the area around the suture or stitches to prevent infections. Even if it is not possible, wipe away any visible blood and make sure nothing remains of the stitch itself. Vets often apply a topical numbing agent like Lidocaine (brand name Xylocaine) for this step; however, some pet owners do not find it necessary unless their dog is susceptible or is doing it at home.
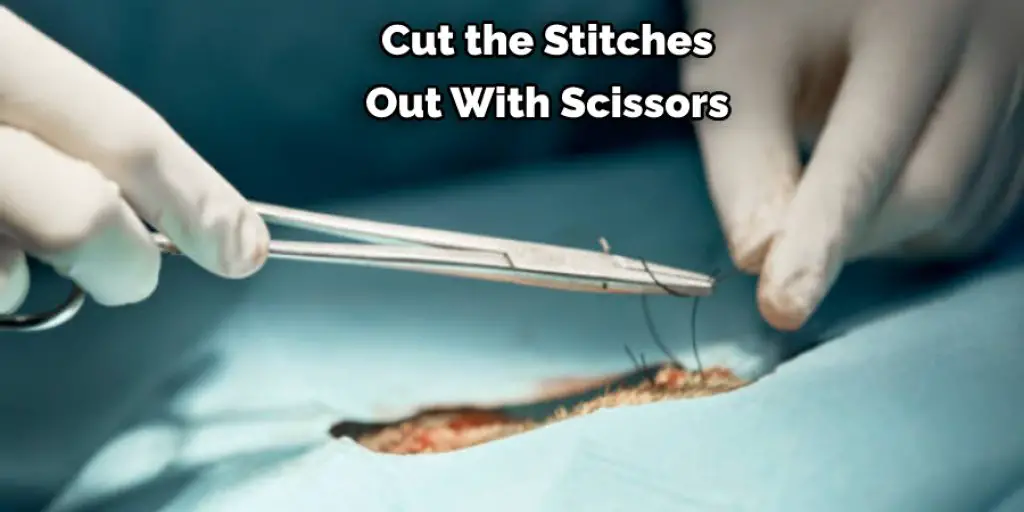
Step 6: Cut the Stitches out with Scissors
This is where you use the tools of your trade to get rid of those pesky stitches that made your dog sick in the first place. It’s okay if some appearance of them remains afterward; be sure not to leave any tiny pieces behind even if they’re hidden by fur. When you’re finished, they should be nearly invisible, and your dog will only have the faintest memory of this unpleasant experience. This is a crucial step in how to remove sutures from a dog.
Step 7: Gently Pull the Entire Suture Free
If there’s any doubt that you’ve got everything, take a pair of tweezers and gingerly pull the stitch out. Be careful not to leave behind even the smallest piece, and make sure it comes all the way out by examining both sides of your dog’s body. If it came from an injection site (for example), wipe away any remaining liquid and apply a new bandage.
Step 8: Dispose of Any Waste Properly
You may be tempted to put those old sutures right in your trashcan; however, this is dangerous for animals and humans alike. Never throw anything like this in ordinary household garbage that will get hauled away! You should also know that commercial places like veterinary hospitals or clinics have procedures for disposing of biohazardous materials, so don’t try to save money by doing this yourself at home.
Step 9: Apply a Bandage if Needed
It’s up to you whether you put on a new bandage or let your dog lick the suture removal site, but remember that licking can cause infection and delay healing. Instead, cover it with fresh gauze and hydrogen peroxide if it looks raw or weeping until it stops. This will clean out any particles still inside and promote faster healing in the future.
Step 10: Watch It Heal!
Finally, please sit back and watch the area heal after its unpleasant encounter with human hands and sharp tools. If there’s no inflammation when you take off the bandage, your dog will probably feel better within a day or two. If not, take him back to see the vet right away because it might be infected. These steps will help in how to remove sutures from a dog. Happy Dog!
You can check it to Prevent Dog From Falling Off Bed
Additional Tips
- If your dog suffers from anxiety, try using a muzzle during the process to help ease any stress.
- A gauze pad may also help protect the skin around the area where you are removing sutures. However, if there is still an open wound present, it is not recommended that you attempt this task. Instead, visit your veterinarian immediately!
- Once you have everything in place, use disinfectant wipes or cotton balls with alcohol or peroxide to sterilize your workspace before starting the removal process.
- If the sutures are sticking out of your pet’s skin, use tweezers to pull them free gently. Do not yank on the thread. This can cause more damage than good!
- If the stitches appear too deep in the dog’s skin for tweezers or your fingers to grasp onto, you can opt for a sewing needle instead. Then, using clean hands, carefully cut the knot off with scissors and take hold of what was once attached using cleaning tweezers or pliers.
- The same rules apply if you need to remove stitches from yourself! Be sure that your hands are immaculate before touching anything near an open wound. If possible, use latex gloves during this process. Experience shows that it is much easier to pull a stitch from the skin when it is wet. Be sure to use soap and cold water if you want to try this method!
Caution
Contact your veterinarian immediately if your dog takes longer than 12 hours to remove the stitches or experiences prolonged pain around the area. This could be a sign of infection which can lead to serious medical complications if not adequately treated.
Also, keep in mind that some suturing techniques cause minimal scarring compared with others. Ask your veterinarian or groomer for their recommendations on reducing scar tissue during the initial grooming process. By doing so, you will give yourself a better chance at removing stitches from your pet when needed!
When Should a Dog’s Stitches Be Removed?
Most dogs will go home with sutures or staples, which must be removed within 7 to 10 days. How long the procedure takes and how much it costs depends on:
– How many stitches your dog requires; some pets only need a few, while others may have dozens of different layers.
– How deep the fur is, especially around areas like legs and necks where there are several layers of skin and fur to work through.
Wounds heal over time and at different rates depending on how big they are, what type of animal got hurt if their immune system is weak, their age, and other health conditions. So how do you know when your pet’s stitches should be removed. Your veterinarian might remove them after 7 to 10 days, but you should still take care not to remove them yourself.
How Do I Know if My Dogs Stitches Are Healing?
After your dog has undergone surgery, the veterinarian will probably give you specific instructions about caring for and monitoring his wound. How well your dog heals and how quickly he recovers after a procedure depends on many factors: the type of surgery performed, the general health and age of your pet, how much exercise he gets, whether or not you follow all the vet’s directions — but one thing is sure; good wound care can speed healing and enhance recovery. Learning how to take care of surgical wounds in dogs will allow you to monitor your pet’s progress toward recovery. Any changes in behavior or appearance could signal a problem that needs veterinary attention. Here are some signs that may indicate when to schedule an appointment with your veterinarian:
- The stitches are sticking out or look loose.
- There is a lot of redness around the wound site, even after you have been giving your dog’s medications as instructed.
- The incision looks infected.
- Your dog won’t eat.
- Your dog doesn’t get enough exercise or has breathing problems
- swelling in his legs or abdomen.
Conclusion
I hope you have found this article on how to remove sutures from a dog helpful and informative. When my dog had to have an operation, I was in a panic and didn’t know how long it would take her to recover. Being prepared in advance helped me, and I hope it helps you too. Of course, visiting your vet is always the best option, but if that isn’t possible, at least now you know what to do!