Look no further than catnip bubbles if you’re looking for a new and exciting way to entertain your cat! Not only will your kitty be entertained for hours on end, but the bubbles are also a fun and easy way to keep them active. This article will discuss how to make catnip bubbles. Read on for more!
Catnip bubbles are very easy to make, and you probably have everything you need in your home already. Of course, your bubbles must be made out of soap, but you can easily make them with other ingredients if your cat doesn’t like soap or you run out.
Contents
Things You’ll Need
- 1/2 cup soap flakes (like Fels Naptha)
- 1/4 cup glycerin, available at drug stores. Check the pharmacy section for this with other skin care products.
- 5 tablespoons water, distilled if possible (not necessary but will make bubbles last longer). Tap works fine too. If you live in an area with hard water, you may need to use distilled water for the best results.
- Small saucepan or microwave-safe bowl; glass measuring cups are perfect for microwaving and pouring.
- Stirring spoon, I like old flat wooden spoons like grandma used to use. You can buy them at antique shops or garage sales. They should only cost a dollar.
- Scissors or a sharp knife, used for cutting the string to hang your bubbles from.
A Step by Step Guide on How to Make Catnip Bubbles
Step 1: Determine How Much Bubbles You’ll Be Making
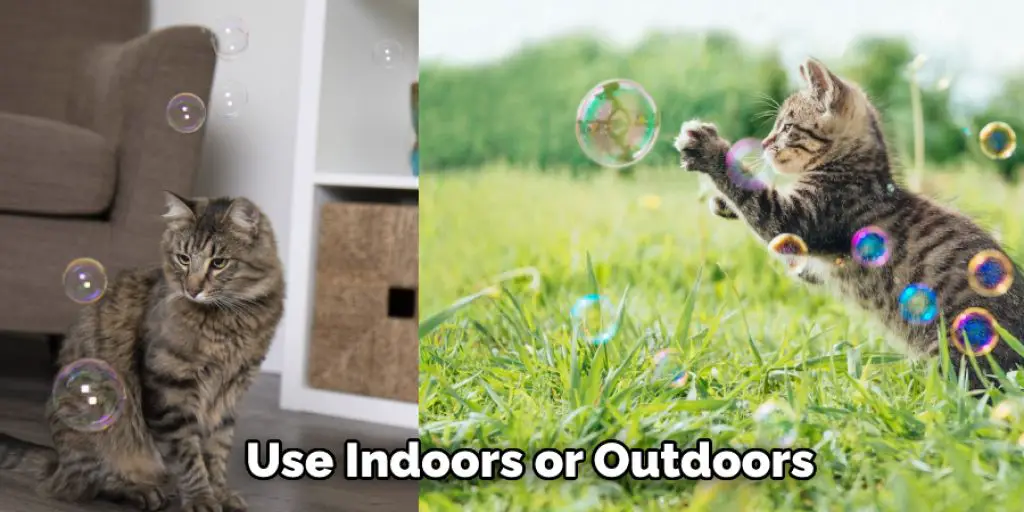
It’s a good idea to determine how many bubbles you’d like to make before starting the project, as some recipes yield more than others. How much you’ll need will depend on if this is for yourself or someone else and if your bubbles will be used indoors or outdoors (outdoors, they tend to last longer). How long they last depend on humidity, temperature, and other factors such as wind.
Below I am making about 20-24 tiny bubbles. This amount of ingredients should make several batches of bubble solution that can yield 50-100+ tiny bubbles depending on what size you cut the string and whether it’s humid outside. This recipe works indoors and outdoors, but it doesn’t last very long outdoors. It just doesn’t.
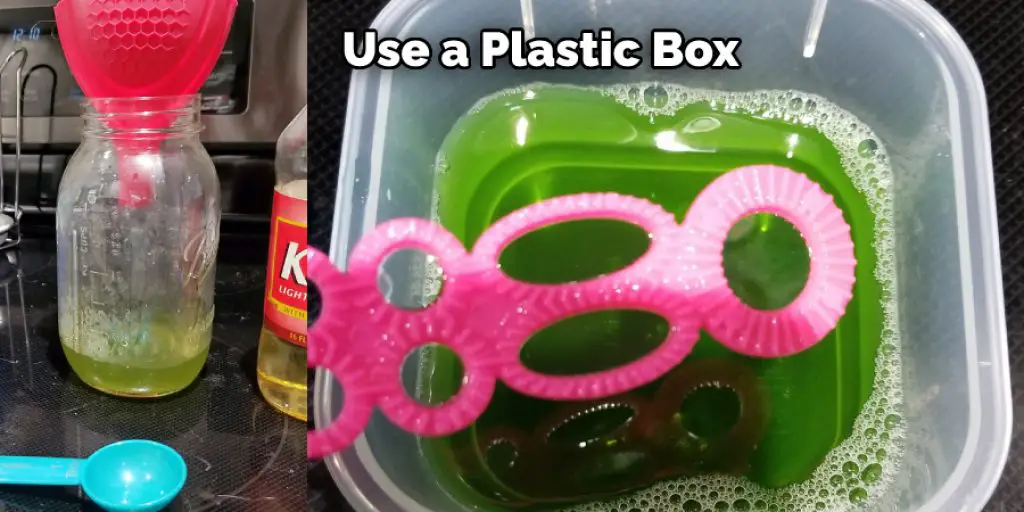
Step 2: Combine Ingredients in a Medium Saucepan or Microwave-safe Bowl
I prefer to use a medium saucepan because you’ll need several cups and because the bubbles work better if they’re made in small batches like this. The number of ingredients above was easily made in a medium saucepan over low heat on my stovetop. If you only have a microwave-safe bowl, that’s fine too, although I find it harder to make smaller quantities at one time using the microwave because the bowl is usually more bottomless.
Step 3: Stir Until Ingredients are Well-Combined
Stir slowly at first to help the ingredients combine well. Once everything is mixed together, stir briskly for about 30 seconds or until all ingredients are thoroughly combined, and there are no more lumps in your bubble mixture. You can see my cat Poker hanging around, always interested in what I’m doing even though she’s never really liked bubbles that much. She’ll come to investigate for a minute then go back to sleep under the table.
I like to use an old flat wooden spoon like grandma used when cooking or baking with cast iron skillets or pots because they’re usually heat resistant and won’t melt if you leave them at the bottom of your pot while making bubbles. Also, if you stir slowly at first, then faster as it gets thicker, the mixture will be less likely to lump up and more smooth.
Step 4: Heat Until Bubbles Rise (about 3-5 minutes over Low Heat on Stovetop)
You’ll need to heat your bubble solution for about 3-5 minutes over low heat with constant stirring until all of your bubbles start rising. This is much easier if you have a gas stove since there are no coils under the saucepan, so the bubbles rise right away instead of sinking back down if you don’t stir constantly.
If you only have an electric stove, I suggest setting it on one of the lowest settings because these can get very hot even on low. You don’t want to burn your bubbles! I used a medium saucepan here, but it could have quickly been done in a much smaller pot if you need a small amount and don’t mind constantly stirring or using the microwave for this step.
The bubbles will rise like the ones above, but they’ll keep sinking back down unless you constantly stir while heating them. The mixture will start thicker and turn from transparent to opaque as you heat it. How long you’ll need to heat it depends on how warm your stove keeps (if there’s no coil, you don’t even need an oven mitt).
If your bubbles sink back down after rising, they’re not hot enough yet. How long you’ll need to stir depends on how much you’re making at one time. I find this recipe makes about 1-2 batches of bubble solution before it gets too thick to make good bubbles. This is a crucial step in how to make catnip bubbles.
Step 5: Cool Before Using (about 15 minutes)
The final mixture will be opaque white or cream color and thicker than a typical bubble solution. It will have a sweet smell that’s hard to describe but typical of catnip, although I don’t think there’s enough here to give your pet cat an actual buzz or anything!
Just cut your string into smaller sections before adding the food coloring because it takes a minute for everything to mix, so if you start this step right away after adding the food coloring, you’ll have pretty bubbles all over your yard. Once again, if you’re making smaller batches, don’t worry about it.
I like to cut the string into long (about 1 foot) pieces ahead of time then tie them onto the end of my handle using a double knot. How much bubble solution you get will depend on how big your pot is and how big your wands are. I find it usually takes me two pots full of bubble solution to fill up one wand, so keep that in mind when choosing what size for this project.
You can check it out to Give a Cat a Bath Humor
Step 6: Add a Little Color if You Want
Now would be the time if you want to add a little color to your bubbles. I cut my string into smaller pieces, so adding the food coloring was more straightforward, but it was not necessary. How much you add also depends on how many bubbles you’re making at one time and how dark or light of colors you prefer.
I like using Wilton Gel Colors found in craft stores because they taste good (not that I recommend tasting bubble solution!) and come in many bright colors. Still, regular liquid food coloring also works just fine for this project. How much gel coloring powder you use will depend on how big a batch you’re making and whether you want your bubbles to be dark or light-colored.
Step 7: Add Your Wand and Blow (or Dip) Away!
You can add your wand to the end of all your string pieces. How long the string depends on how big of a bubble wand you’re using and where you want it to hang when in use, so play around with this step until you get it exactly how you want it.
As for making bubbles, I find it works best to blow (or dip) the wand quickly before it has time to drip and make a mess. How you hold your wand will depend on how big of bubbles you want, but if it’s too hard or your hand is cramping, try holding the end of the string instead until you’ve gotten better at this! These steps will help in how to make catnip bubbles.
Tips and Warnings
Tips:
- If you can’t find washing machine soap, you can use dishwashing soap instead.
- Do not use too much soap in the solution.
- Make sure your bubbles are made in a well-ventilated area, as some people can be allergic to the essential oils in catnip.
- Young children should be supervised when using this project, as they could accidentally get soap into their eyes.
Warnings:
- Adult supervision is required at ALL times when using this project.
- Do not let any soap or bubble solution fall into your pet’s eyes.
- When finished, make sure to rinse the soap off all surfaces and people thoroughly. This will help prevent skin irritation.
- Only use high-quality brands of soap, not cheap alternatives! The quality of the soap is essential for making bubbles.

Conclusion
We hope you have learned how to make catnip bubbles. Bubbles are always a hit with kids and cats alike, and this recipe is sure to please everyone in your family. Be sure to have all of the ingredients on hand before you start because the fun will be flying once you get started! Catnip bubbles are easy and enjoyable for both kitties and humans, so get ready for bubble-blowing severe fun.