
It’s not always easy to keep your dog safe, especially if they like to wander. However, an excellent way to ensure that your pet can’t escape their designated area is by using a wire fence. In this article, you will learn how to twist wire for dog fence securely so that your furry friend can’t get out. Keep in mind that this method takes a bit of time and patience, but it’s worth it!

Dogs are curious creatures by nature and will try to explore anything and everything they can get their paws on. Therefore, if you have a wire fence, it’s essential to ensure that the wires are securely twisted together. This way, your dog won’t be able to push through or squeeze between the gaps. Many people choose to use wire fences because they are less expensive than traditional fencing and can be easily installed.
Contents
Required Tools and Materials
- T-posts
- Wire cutters
- Pair of gloves
- Anchoring spikes
- Roll of barbed wire or fencing (at least 4 feet high)
- Measuring tape
- Shovel
A Step by Step Guide on How to Twist Wire for Dog Fence
Step 1: Determine How Much Fencing You Need
The first thing you’ll need to do is determine how much fencing you’ll need by measuring the perimeter of your desired fenced-in area. Once you have your measurement, add an extra 10% to account for any mistakes while measuring or cutting the fencing.
Step 2: Choose Your Fencing Material
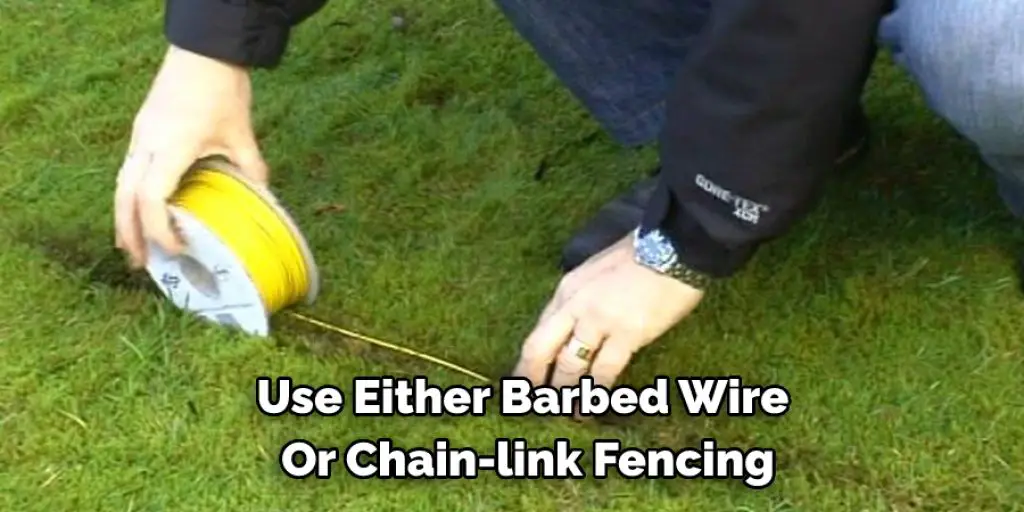
There are a few different types of fencing material that you can choose from, but for a dog fence, we recommend using either barbed wire or chain-link fencing. Both options will effectively keep your dog contained while still allowing them to see what’s going on outside of the fence.
Step 3: Preparing the Area
Using the measuring tape, mark out the area’s perimeter where you will be installing the fence. Be sure to factor in any areas your dog may need to access, such as a gate. Once the perimeter is determined, use the shovel to dig holes for the T-posts. The holes should be about 18 inches deep and 6 inches wide.
Step 4: Installing the T-Posts
Now that your fence line is marked and the corners set, it’s time to start installing your T-posts. Begin by selecting a post in the ground at each end of your fence line.
Then, established headquarters every 10 feet or so along the line. If you’re using wooden posts, set them at least 2 feet into the ground. For metal posts, you’ll need to dig a slightly wider hole than the base of the post and deep enough so that 1/3 of the post is buried underground.
Once all of your posts are in place, it’s time to start attaching the wire. The first thing you’ll need to do is run the length of wire from one end post to the other. To do this, thread the wire through the eyelet at the top of the end post and then twist it around the post several times to secure it in place. Then, run the wire to the next post and repeat the process. Continue until you reach the other end of your fence line.
Step 5: Securing the Wire
Now that you have your wire attached to the posts, it’s time to secure it. One way to do this is by using anchoring spikes. Drive the spike into the ground at each post, ensuring that the wire is tight against the post.
You can also use barbed wire or fencing to secure the wire. If you’re using barbed wire, make sure to leave enough excess wire to wrap it around the post several times. If you’re using fencing, use staples or nails to attach it to the posts.

Step 6: Adding the Fencing Material
If you’re using barbed wire, your fence is now finished. If you’re using fencing, it’s time to add the fencing material. Begin by stretching the fencing material tightly between the posts and securing it with staples or nails. Ensure that there are no gaps between the fencing and the posts.
Step 7: Trimming the Excess Wire
Once your fencing material is in place, it’s time to trim the excess wire. Using a pair of wire cutters, cut the wire at each post to have about 6 inches of wire remaining. Be sure to wear gloves to avoid getting cut by the sharp wire.
Step 8: Adding a Gate
If you need to add a gate to your fence, measure the opening and cut the fencing material and wire to size. Be sure to leave enough excess material to attach it to the posts securely. You may also want to add a latch or handle to the gate for easy access.
Step 9: Test Your Fence
Before letting your dog out into the fenced-in area, it’s essential to test your fence to ensure it’s secure. Start by walking around the fence’s perimeter to check for any gaps or holes. If you find any, fill them in or repair them before letting your dog out. Once you’re sure that the fence is secure, open the gate and let your dog into the fenced-in area.
Step 10: Finishing Up
Once the wire is secured, it’s time to add the finishing touches. Using barbed wire, use a staple gun to attach it to the fence posts. If you’re using fencing, be sure to trim any excess material to flush the fence against the post. Finally, use the measuring tape to make sure that the height of your fence is at least 4 feet.
If you follow these steps on how to twist wire for dog fence, you’ll be able to install a dog fence that will keep your pet safe and contained while still allowing them to enjoy being outdoors.
Tips and Warnings
Tips:
- If you are using a lot of wire, you can use a power drill with a twisting bit to speed up the process.
- Be sure to twist the wire tightly so that it will be secure.
- If you need to join two pieces of wire together, twist each end around the other piece of wire several times before continuing to twist the wires together. This will create a stronger connection.
- When you are finished twisting the wire, cut off any excess with wire cutters.
Warnings:
- Be careful not to cut yourself when using wire cutters.
- Do not use power tools near water.
Does Electric Dog Fence Have to Be a Loop?
Electric dog fence does not have to be a loop. You can either create a single wire run or use multiple runs to form a custom-shaped boundary for your pet. Twisting the wire ensures that the electrical current will flow through the fence in the intended pattern.
If you are using a single wire run, it is important to twist the wire every 6-8 inches so that there is no break in the current. If you are using multiple wire runs, it is essential to twist each run together before attaching it to the energizer. Ensure that your twists are tight and secure, or the fence may not work correctly.
When installing an electric dog fence, always consult with a professional to ensure that the fence is installed correctly and will provide your pet with the desired level of security.
What Is Twisted Wire Used for in a Dog Fence?
Just about any fencing can create a dog fence, but certain types work best. A chain-link fence is a good option, as it’s durable and easy to install. But if you’re looking for something a little more attractive, a wood or vinyl fence might be better. And if you’re concerned about keeping your dog contained, you might want to consider an electric fence.
No matter what type of fence you choose, you’ll need to twist the wire to keep it secure. This is because dogs have a tendency to chew through fencing, and if the wire isn’t twisted, they’ll be able to get through it. Twisting the wire will make it more difficult for them to bite through, keeping the fence tauter.
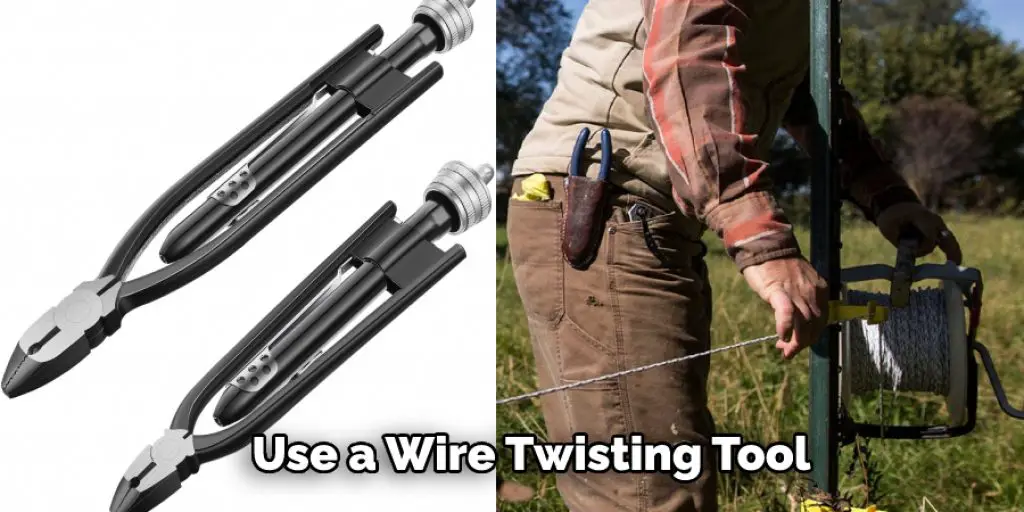
There are a few different ways to twist wire, but the most common method is to use a wire twisting tool. This is a simple handheld device with two metal plates attached to it. You place the wire between the plates and then squeeze the handles together, which causes the plates to close around the wire and twist it.
If you don’t have a wire twisting tool, you can also use pliers or a vice grip. Just make sure that you hold the wire securely as you twist it, or else it might come loose. And be careful not to apply too much pressure, or you could damage the wire.
Once you’ve twisted the wire, you can use it to secure the fence to posts or other support structures. Just make sure that you twist it tightly not to come loose. And if you’re using an electric fence, be sure to connect the wire to the proper energizer before turning it on.
Conclusion
Now that you know how to twist wire for dog fence, it’s time to put your skills into practice. With a little bit of effort, you can have your furry friend safely fenced in and play in the yard in no time. Remember to use caution when working with electricity and wires – if something doesn’t seem right, stop what you’re doing and consult an expert. Have fun creating your DIY dog fence!
You can check it out to Does a Dog Sleep With a Cone