If you’re looking for a new and exciting hobby, shearing an angora rabbit may be what you’re looking for. Angora rabbits are bred specifically for their soft, fluffy fur, which can be sheared to create yarn or garments. But, if you’ve never done it before, don’t worry – this article will teach you how to shear an angora rabbit like a pro.

Angora rabbits are born with soft, fuzzy hair that will eventually turn into the long, wool-like coat prized in the angora rabbit. How often you shear your angora rabbit depends on how fast their coats grow and whether or not they are being used for fiber production. Ideally, it would help if you planned to shear them every couple of months during warmer weather.
Contents
A Stepwise Guide on How to Shear an Angora Rabbit
Step 1: Gather Equipment Needed for Shearing
The first step in shearing an angora rabbit is to gather the equipment needed. The most important thing to have is a sharp pair of scissors or electric clippers for shaving down your rabbit. Electric clippers are used less frequently because they tend to be extremely loud and can scare animals if not handled properly. Either way, make sure that you have something to shave off most of their wool, so it doesn’t tangle up during the next step.
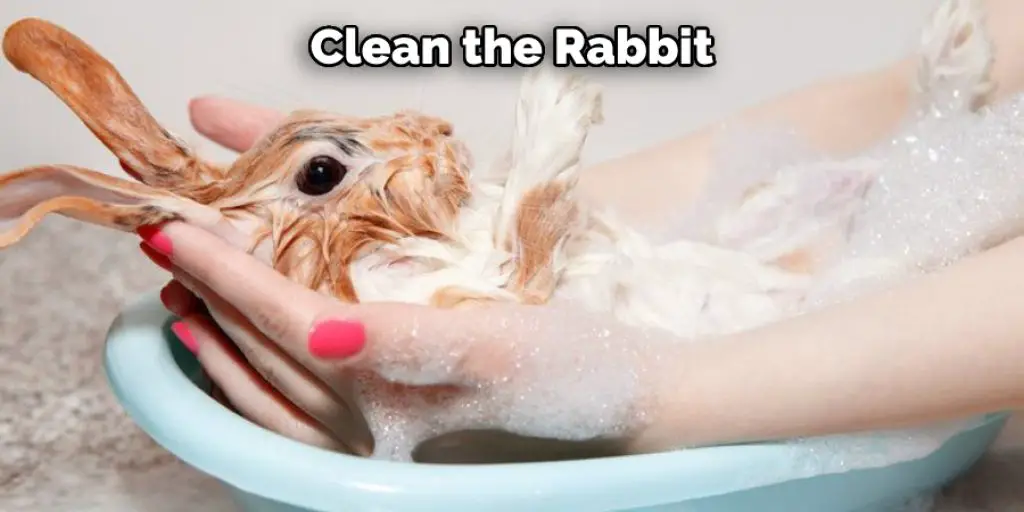
Step 2: Cleaning Rabbit
The next step is to clean the rabbit. How you do this depends on what type of cage your rabbit lives in and how dirty they are.
If the bunny has a wire cage, take them out and hold them over a bathtub or outside if weather permits, and use a bucket and some soap and water to clean the bunny (and the cage if needed). It is essential to change their water frequently because rabbits tend to go potty where they eat and drink, so checking for leftovers will significantly reduce the smell.
If they live in a more rack-type of the cage such as those found in most pet stores, then you need to determine whether or not it is easier for you to remove the whole cage off the ground and place it in the bathtub or if you need to remove just the top. Once you’ve done that, take your pet into one hand and their food bowl into the other and slowly dump their old food into a bag for disposal later.
If they live inside the house with you, then chances are already promising that they are clean because rabbits tend to be very careful about where they go potty (in most cases). If not, grab them by one hand (making sure to support their back) and hold them over either your bathtub or outside if weather permits; then use a bucket with warm water and some soap to clean them off.
Step 3: Drying the Rabbit
After you’re satisfied with how clean your pet is, it’s essential to make sure that they are completely dried before proceeding to the next step. How long this takes depends on what type of room you have your rabbit in and whether or not there are any vents available so see if one of those speeds up the time significantly.
It’s also a good idea to gently blow into their fur as you try and separate tangles. This will help loosen everything up, making separating much easier later without hurting your rabbit.
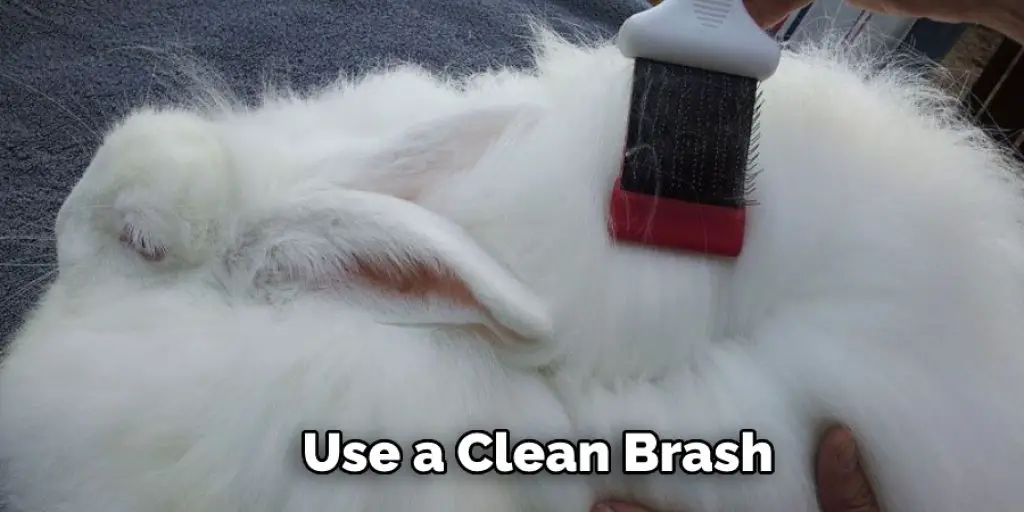
Step 4: Brushing the Rabbit
After you’re satisfied with your bunny’s drying time, it’s time to get them brushed out so they are ready for shearing. How you do this depends on what type of brush you have available and how dirty they are, so see which step makes more sense under these conditions.
If they are immaculate, get a pet brush designed for short hair pets and gently brush through the fur in the direction it grows. If you don’t have any brushes, use your hands but be careful not to pull too hard because pulling will only tighten up their wool and further tangle it up, making separating harder later on.
After you’re done brushing, please take a second check over their coat, looking for any tangles or missed spots so you can get them out before it becomes a significant problem later on.
If they are a bit dirtier than the previous step, take a slightly stiffer brush and brush in different directions until all of the tangles are removed from their coat. How long this takes again depends heavily on how clean or dirty your rabbit is, but after you’re satisfied that everything has been worked out, move on to the next step.
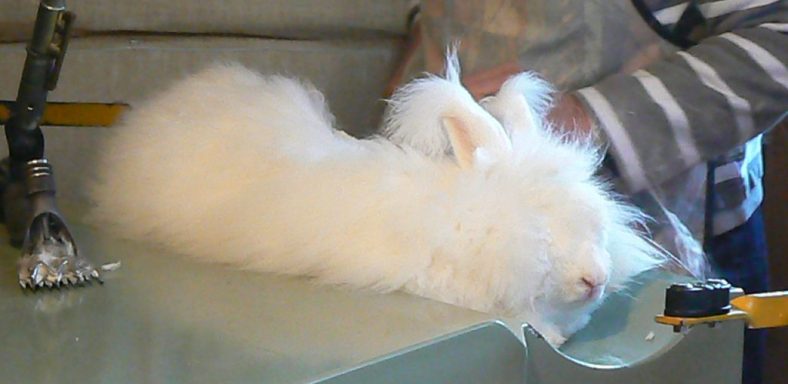
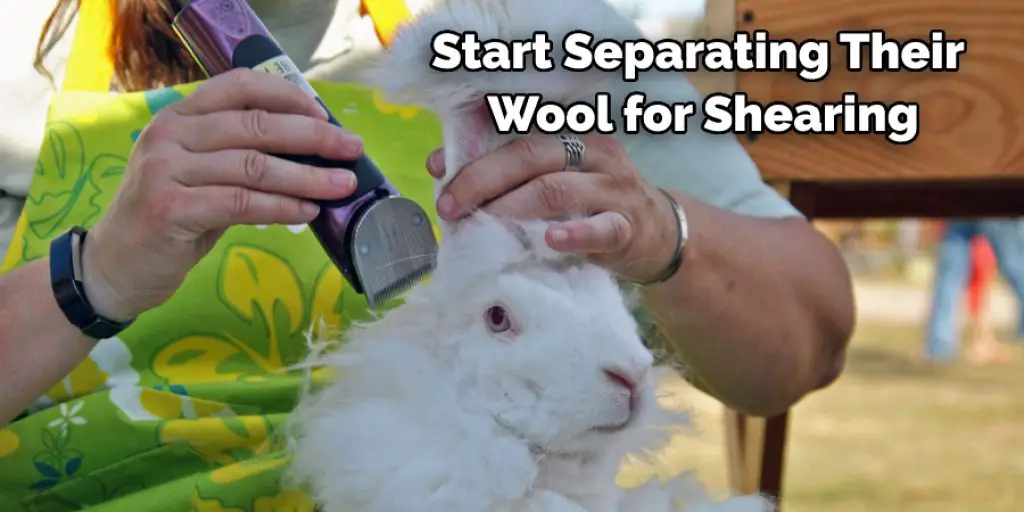
Step 5: Separating Wool
After brushing your bunny’s fur, it’s time to start separating their wool for shearing. How you do this depends on what type of equipment you have available; either electric clippers or scissors (or both). How long this process takes also depends on your rabbit’s coat, so if they have a very long coat, expect to spend a lot more time on this step.
If you’re using electric clippers, then brush the fur again in short strokes following the lay of their fur of which way it grows and where it tends to tangle up. Most rabbits don’t mind getting clipped, but some will either stay perfectly still or squirm around a bit depending on how well they handle new situations, so make sure you hold them firmly enough to keep them from getting away but not enough to squeeze all of the air out.
How much pressure you use is crucial because too much will only terrify your pet and cause them to become unmanageable, while too little will make it difficult to get a clean cut. How long this takes again depends on the length and thickness of their coat, so you might need to go back and forth several times if your pet’s hair is particularly thick.
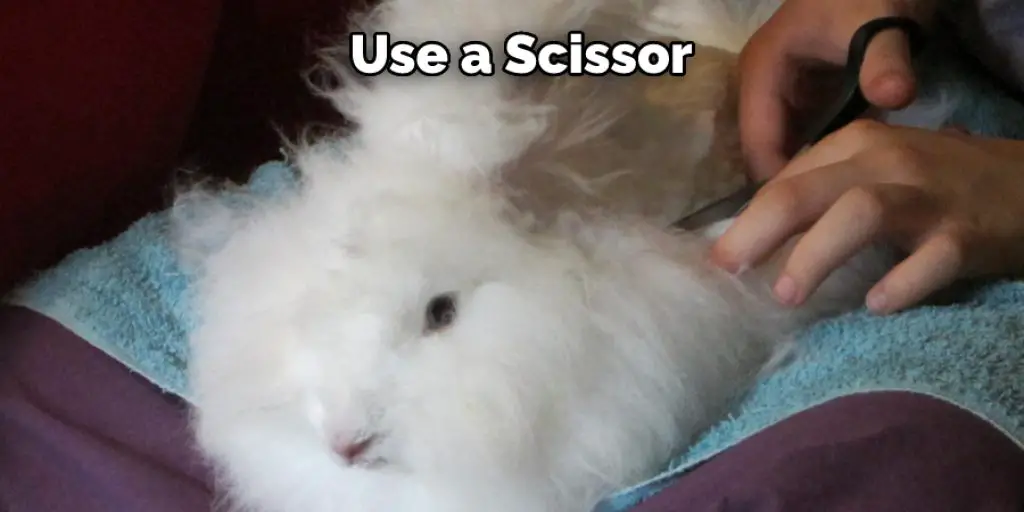
If you’re using scissors, then the only difference is that you need to be more careful about how hard you press down since their fur can’t protect them from sharp metal as it does for their skin.
Step 6: Begin Shearing!
After you’re satisfied that all of the tangles have been worked out and everything is as clean as possible, it’s time to shear your rabbit. How you do this depends on the equipment you’re using and how fluffy their coat is. How long this process takes also depends on what type of equipment you’re using and if their skin is particularly thick or not, so again, make sure to check over your pet several times for any missed spots so they don’t get cut later on.
How much pressure you use to shear your bunny’s coat also makes a massive difference in how well it comes out. Try to keep the pressure consistent throughout each stroke; harder pressure for longer fur and softer pressure for shorter fur will give you better results.
If you’re using electric clippers, then follow along with the lay of their fur, cutting off all of the excess furs as you go. How much hair to cut off at a time again depends on how thick or long it is, so check over your pet several times during this process both for missed spots and to make sure that you’re not accidentally nicking them with the clippers.
How many strokes you need to take depends entirely on your rabbit’s coat. So again, go back and forth between each spot-checking for missed areas until they are satisfied that their coat has been wholly sheared out before moving onto another area.
How many strokes it takes also depends on how thick or tangled their skin is, so if you find that it’s taking a long time to shear out your pet’s fur completely, try brushing them again next time.
If you’re using scissors, then follow along with the lay of their fur, making cuts roughly 3-4 inches apart from each other. How much hair to cut off at a time again depends on how thick or long it is, so check over your pet several times during this process both for missed spots and to make sure that you’re not accidentally nicking them with the clippers.
Step 7: Finish Up!
Once you’re satisfied that your rabbit has adequately been sheared, take the excess fur and separate it into piles; one for the guard hairs (the straight ones) and another for the undercoat (the soft fluffy coils).
How much extra coat you end up with depends on how thick their original coat was, so if you want more to use as nesting material or sell later on, then make sure to brush them before shearing next time. These steps will help in how to shear an angora rabbit.
You can check it out to Comfort a Dying Rabbit
Conclusion
If you’re looking to add a little luxury to your life, consider sharing an angora rabbit. Angora fiber is incredibly soft and can be spun into yarn, perfect for knitting or weaving projects. It’s also a renewable resource; unlike wool, angora fiber can be harvested without harming the rabbits. With a little bit of practice, you’ll be able to shear your angora rabbits in no time! We hope you have learned how to shear an angora rabbit.