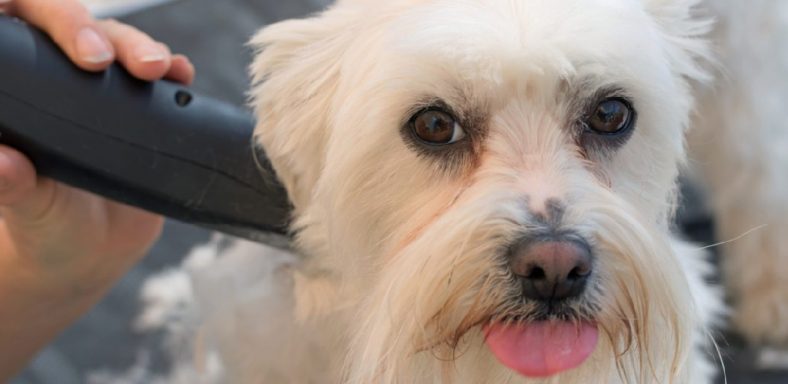
The first time I had to shave my dog’s matted fur, I was utterly unprepared. I had no idea how bad the mats were until I started shaving them off and huge chunks of hair came with it. If your dog has matted fur, you need to take action before it gets too bad. This article will show you how to shave matted dog fur safely and effectively.
Dogs are naturally hairy creatures. If you’re a dog owner, you’ll know that there comes a time when your pup gets matted fur and requires grooming. How soon this occurs depends on the individual dog’s breed, but no one wants to see their beloved pet uncomfortable or looking unkempt.
Contents
Why You Have to Shave Matted Dogs?
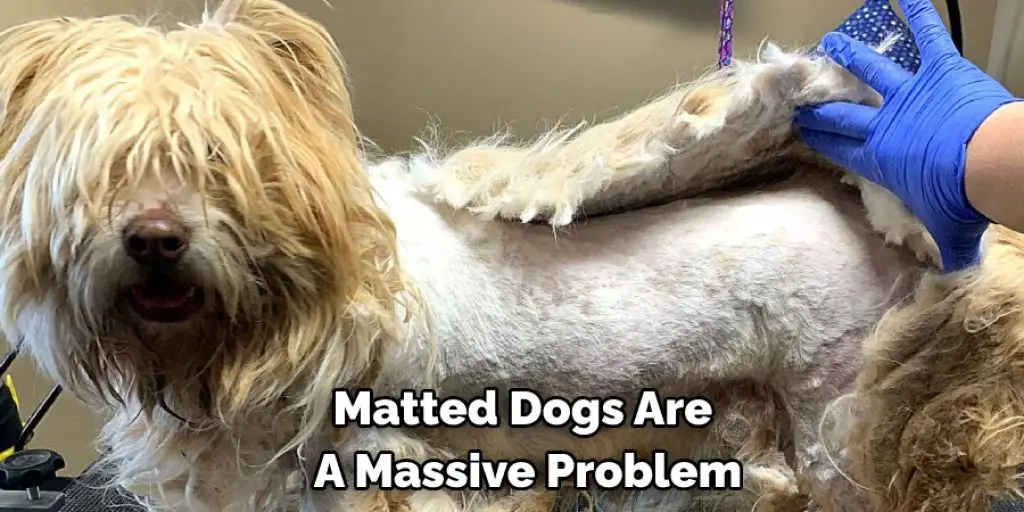
If your dog’s fur is matted, it means the hair is tangled and stuck together. This can be a problem because it can make it difficult for your dog to move around or see. It can also be painful for your dog if the mats are pulled on. Shaving your dog’s fur can help to solve this problem.
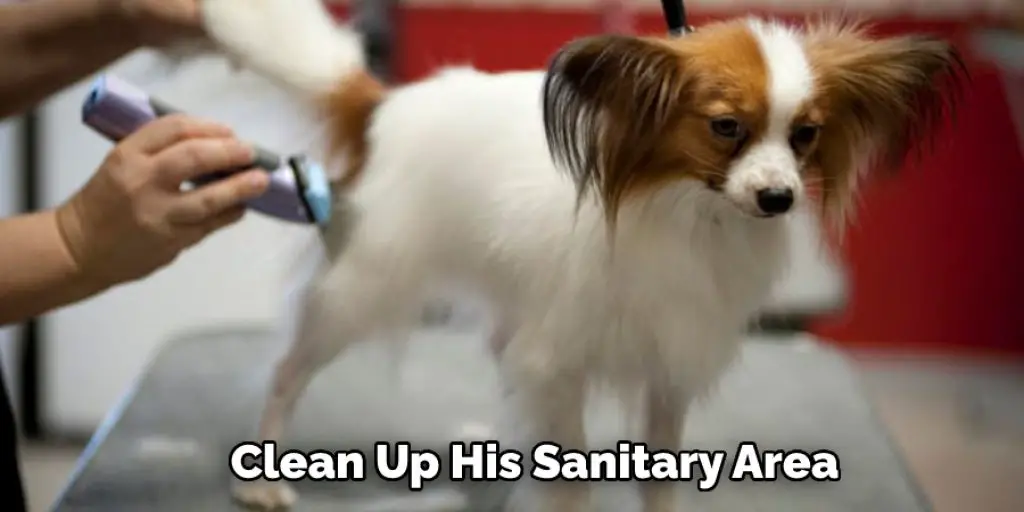
1. Hygiene is the primary reason for shaving matted dogs. If you have a large dog or have long fur, it can cause problems if they are not groomed on a regular schedule. If a dog is not groomed regularly, it can cause the hair to become matted and tangled. This can make your pet look unappealing and smell bad.
2. Better Mood. A clean pet with no mats, tangles, or knots will allow your dog to have a better mood. Being dirty can have certain smells associated with it. Smelling these odors can cause them to become more aggressive. If they are not groomed regularly, matted dogs can also get irritated, which causes pain in their skin, making them want to itch more often.
3. Visual Look. How dogs look can affect their mood and how other people feel about them. If your dog has mats, it can also irritate their skin, causing them to scratch themselves more often. This causes the problem of itching and scratching to worsen because there will be an open sore containing dirt and bacteria.
4. Health Issues. If your dog is not groomed on a regular schedule and has mats, it can cause health issues. When dogs have mats and tangles, they will pull at their hair, cleaning the area. This causes the infection problem to worsen because dirt and bacteria get trapped in the matted fur or between knots.
Things You’ll Need
- Dog Brush
- Large metal bowIce cubes
- Small mirror or handheld mirror
- Clippers with adjustable length setting
- Dog shampoo and conditioner
- Cotton balls
A Stepwise Guide on How to Shave Matted Dog
Step 1: Prep Work
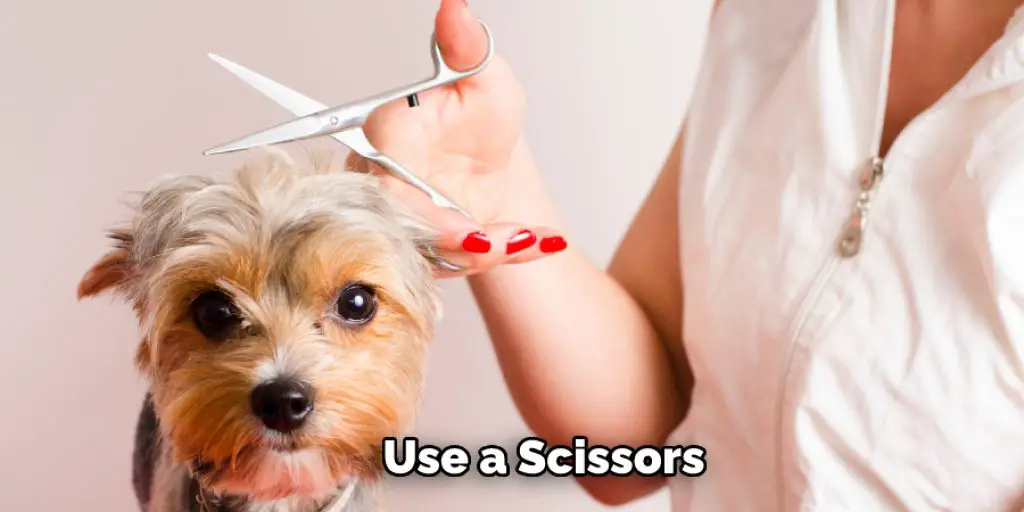
Before shaving your dog’s coat, it is essential to have everything ready. If not, you will have difficulty doing so, and injuries may come to your beloved pet. Brush your dog before shaving them because long matts may be tangled in the coat of your animal friend, and removing them by brushing can cause pain to the dog. Also, brush the fur against the grain of the hair growth to prevent further tangles from forming, as these may also aggravate your pet.
Step 2: Prepare the Area for Shaving
To get the best results when shaving your dog, make sure the area is free of mats and tangles first. If you don’t brush your dog correctly, there’s a chance you won’t remove all the mats, and shaving will make them worse. To minimize swelling that may occur after shaving, place a bowl of ice cubes on the shaved area.
Step 3: Get an Assistant
Protect yourself by having someone to help you. The assistant should be able to hold the dog in place for you for this process to go smoothly. If possible, have a mirror to have an idea of what areas of your dog’s skin have already been shaved for you not to miss any places at all. It is also helpful if your pet is calm and still; however, it can be difficult with some dogs. If your dog is anxious or continues to move around, you can try using treats to distract the animal.
Step 4: Shave Your Dog’s Under Areas
Lower areas of your dog’s body, such as the legs and underbelly, must be shaved carefully. How you will do this will depend on where you are shaving your pet. If done in a bathroom or any area that is not rough on the floor, have the assistant hold your dog over a bowl to catch loose hair after each pass. However, if you are shaving on a surface such as gravel or dirt, this is not the way to go.
If you want to shave your dog, you will need to have someone hold him still while you do it. The person should hold him by his middle and back end, and stand between his legs.
Step 5: Shave Your Dog’s Backside
You will need to take care when shaving your dog’s backside to avoid any cuts or scratches. The best way to do this will depend on where you are shaving your pet. If you are doing it in a bathroom or any area with a smooth floor, have an assistant hold your dog over a bowl to catch any loose hair after each pass. However, if you are shaving on a rougher surface such as gravel or dirt, this may not be the best method.
Instead, your dog will need to be held immobile in a standing position while you shave its backside. Just have someone hold him by his mid-section and rear end with both hands while they stand between their legs.
Step 6: Shave Their Belly
You will need to take care when shaving your dog’s belly to avoid any cuts or scratches. The best way to do this will depend on where you are shaving your pet. If you are doing it in a bathroom or any area that has a smooth floor, have the assistant hold your dog over a bowl to catch any loose hair after each pass. However, if you are doing it in a rougher area, you will need to be more careful to avoid any accidents.
If done in a bathroom or any area that is not rough on the floor, have the assistant hold your dog over a bowl to catch loose hair after each pass. However, if you are shaving on a surface such as gravel or dirt, this is not the way to go.
Step 7: Shave Their Legs
Your dog’s legs must be shaved carefully to avoid getting cut or scratched. How you will do this will depend on where you are shaving your pet. If done in a bathroom or any area that is not rough on the floor, have the assistant hold your dog over a bowl to catch loose hair after each pass.
Shave the top of your dog’s legs in a downward motion to further prevent matting from occurring after shaving. How you will do this will depend on where you are shaving your pet. If done in a bathroom or any area that is not rough on the floor, have the assistant hold your dog over a bowl to catch loose hair after each pass. However, if you are shaving on a surface such as gravel or dirt, this is not the way to go.
Step 8: Shave Matted Dog’s Head
When you are grooming your dog, it is important to catch all of the mats and tangles. This will make your job more manageable and prevent them from forming again in another part of your pet’s body.
If done in a bathroom or any area that is not rough on the floor, have the assistant hold your dog over a bowl to catch loose hair after each pass.
Step 9: Stop Dog Bleeding
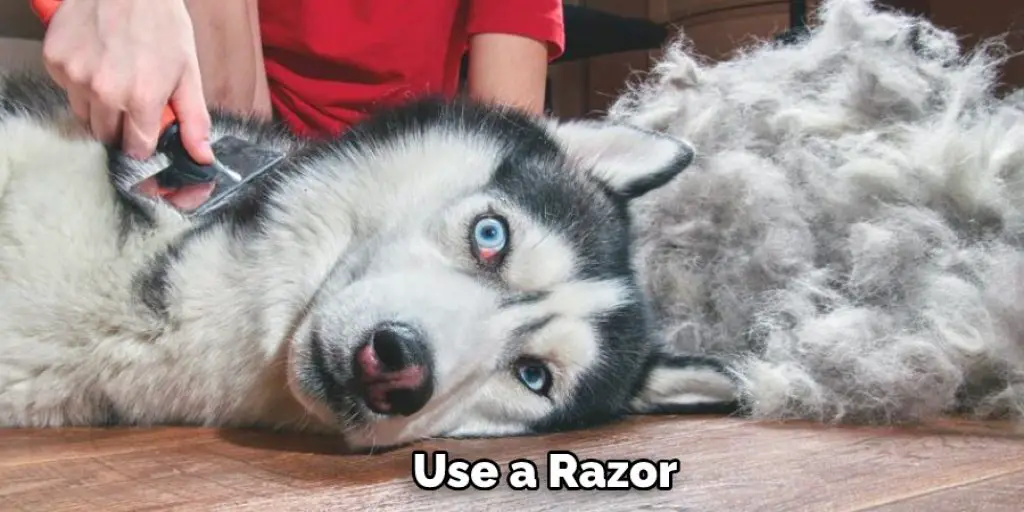
Shaving can cause discomfort for some dogs. If this is the case with yours, there might be minor bleeding involved after each pass of the razor blade. By applying styptic powder, you can stop your dog’s bleeding and prevent unsightly stains from forming on their skin. How you will do this will depend on where you are grooming your pet. If done in a bathroom or any area that is not rough on the floor, have the assistant hold your dog over a bowl to catch loose hair after each pass. However, if you are shaving on a surface such as gravel or dirt, this is not the way to go. These steps will help in how to shave matted dog.
Conclusion
There is nothing cuter than a shaved dog, except maybe two shaved dogs. So shaving matted dogs can now rest at your fingertips. This article on how to shave matted dog is to help you avoid the hassles and frustrations that come with shaving your matted dog. Follow these tips, and you’ll soon be towards a smoother-looking pup!