
When your dog gets stitches, it’s important to make sure they are removed properly and without complication. This article will teach you how to remove stitches from a dog most effectively and efficiently possible. Following these simple steps ensures that your furry friend heals quickly and without any issues.
Contents
What Causes a Dog to Need Stitches?
There are various reasons why your dog may need stitches. The most common reason is due to an injury, such as a cut or laceration. Other causes may include dog bites, hot spots, abscesses, and even surgery. Injuries that occur on the face or in the mouth are especially prone to requiring stitches due to the high amount of movement in these areas.
Another common cause of stitches in dogs is anal sac disease. This condition causes the anal glands to become impacted or infected, which often leads to abscesses or ruptures requiring suturing.
Additionally, your dog may need stitches if they have had any surgery, even something as routine as being spayed or neutered. The other main cause of stitches in dogs is due to allergies. Allergies can cause your dog’s skin to become irritated and inflamed, often leading to scratching and licking.
This can cause hot spots, abscesses, or other wounds that may require stitches. Lastly, your dog may need stitches if they have been burned. Burns can be caused by many things, including contact with hot surfaces, chemicals, or even the sun.
Step by Step How to Remove Stitches From a Dog:
1. Check the Wound
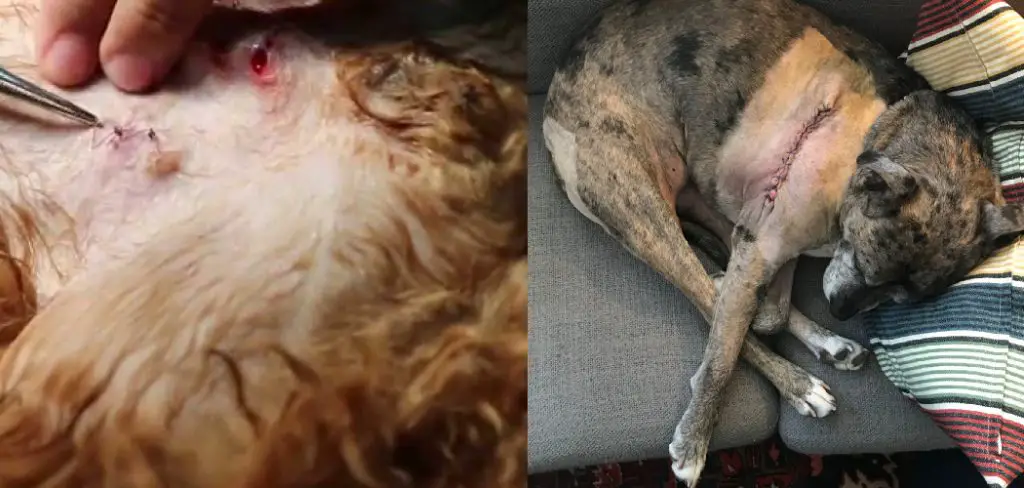
The first thing you’ll need to do is check the wound. If the stitches are still in place and the wound has not yet healed, then you’ll need to take your dog to the vet to have them removed. If the wound has healed and the stitches are no longer needed, then you can remove them at home. Next, check the wound for any signs of infection, such as redness, swelling, or discharge. If you notice any of these signs, take your dog to the vet immediately.
2. Assess the Type of Stitch
The next thing you’ll need to do is assess the type of stitch that was used. There are two main types of stitches: absorbable and non-absorbable. Absorbable stitches dissolve on their own and don’t need to be removed. Non-absorbable stitches need to be removed by a professional. If the stitch type is not clearly labeled, you’ll need to ask your vet.
3. Gather Your Materials
Once you’ve determined that the stitches can be removed at home, you’ll need to gather your materials. You’ll need a pair of sharp scissors, tweezers, and antiseptic wipes. Gather these items and put them within reach before starting the removal process. If you’re using non-absorbable stitches, you’ll also need to have a plan for disposing of them. Try to find a container with a lid that you can use to discard the stitches after they’ve been removed safely.
4. Wash Your Hands
Before starting, it’s important to wash your hands. This will help prevent the spread of bacteria and keep you from accidentally getting any dirt or debris in the wound. Wet your hands and use soap to lather them up. Rub your hands together for at least 20 seconds before rinsing them off with clean water. If you have any cuts or open wounds on your hands, then you’ll need to wear gloves.
5. Clean the Wound
The next step is to clean the wound. This is an important step in the removal process because it will help to prevent infection. Use an antiseptic wipe to clean the area around the stitches.
First, wet the wipe with clean water. Then, gently rub the area around the stitches in a circular motion. Avoid rubbing directly on the stitches, as this could cause them to break. Once the area is clean, you can move on to the next step. Avoid getting the wound wet as this could cause the stitches to loosen. Once you’ve removed the stitches, you can clean the wound with soap and water.
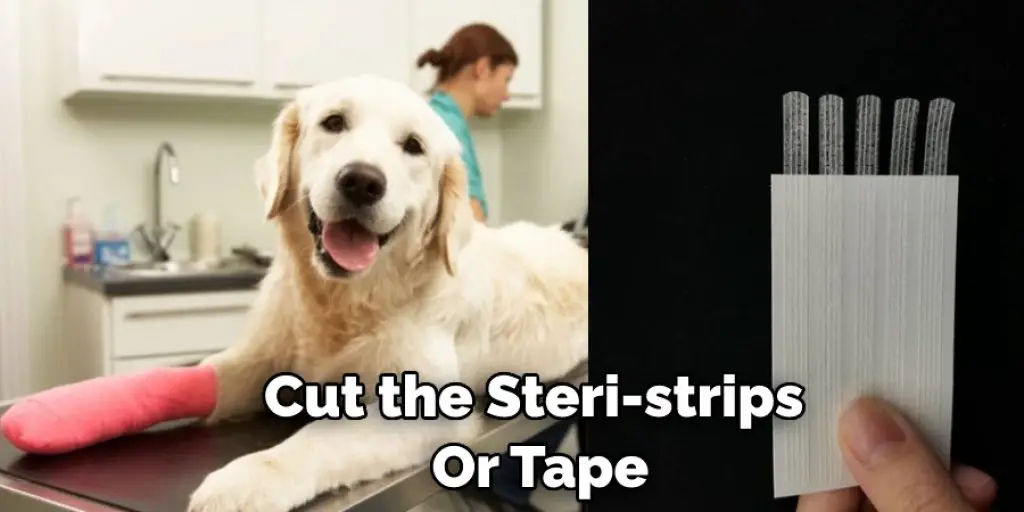
6. Cut the Steri-strips or Tape
If your dog has steri-strips or tape holding the stitches in place, then you’ll need to cut them before proceeding. Use a pair of sharp scissors to cut the steri-strips or tape carefully. Be careful not to cut the skin as you’re doing this. First, wet the scissors with clean water.
Then, hold the scissors parallel to the skin and carefully cut through the steri-strips or tape. If you’re having trouble cutting through the steri-strips or tape, then you can try using a pair of tweezers to hold them in place while you cut. Avoid touching the wound with scissors or tweezers as this could cause infection.
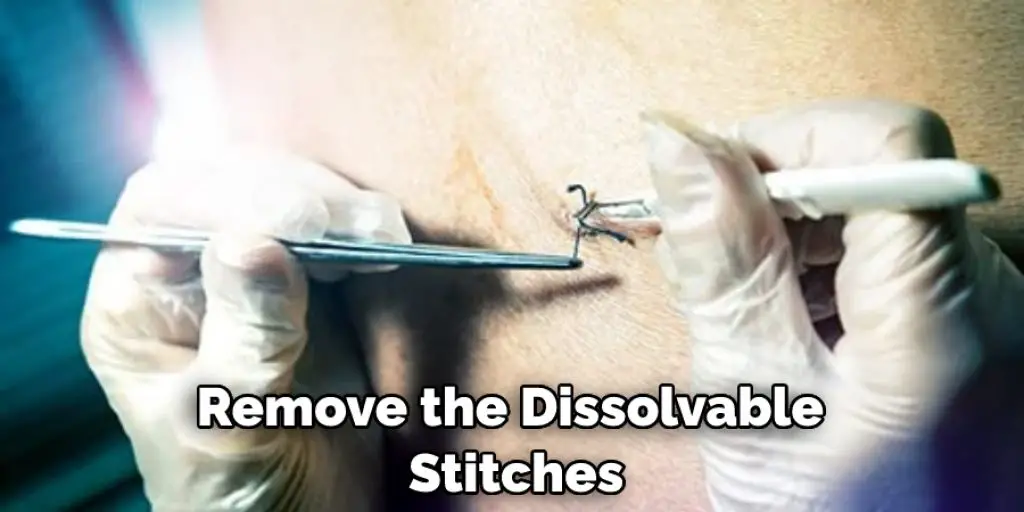
7. Remove the Dissolvable Stitches
If your dog has dissolvable stitches, then you can remove them by gently pulling on the ends of the stitches. The stitches should come out easily. First, identify the location of the knots and then carefully pull on the end of the stitch until the knot comes undone. Once the knot is undone, you can gently pull on the stitch until it comes out completely.
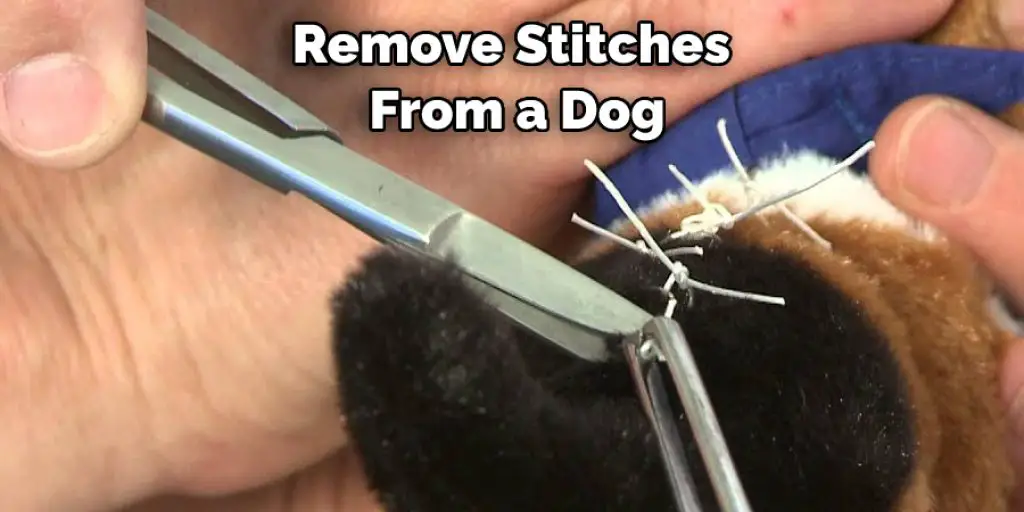
8. Trim the Non-dissolvable Stitches
If your dog has non-dissolvable stitches, then you’ll need to use a pair of sharp scissors to trim them carefully. First, disinfect the scissors with rubbing alcohol. Then, cut the stitches close to the skin, being careful not to cut your dog’s fur. Finally, apply pressure to the area with a clean cloth to stop any bleeding. If your dog is bleeding a lot, then you should use a styptic pencil to help stop the bleeding.
9. Apply Pressure
After trimming the stitches, you’ll need to apply pressure to the area with a clean cloth. This will help to stop any bleeding that might occur. You can also use a Band-Aid to help hold the pressure in place. First, soak a clean cloth in cool water. Apply the cloth to the area where you trimmed the stitches.
10. Apply Antibiotic Ointment
Once you remove the stitches, you’ll need to apply an antibiotic ointment to the wound. This will help to prevent infection and will also keep the area moist, which will promote healing. Apply a thin layer of ointment to the wound and then cover it with a Band-Aid. Avoid getting the ointment on your dog’s fur, as it can be difficult to remove.
11. Apply Bandage
If your dog’s wound is deeper than a quarter of an inch, then you’ll need to apply a bandage. This will help to keep the area clean and protected while it heals. To apply a bandage, cut a piece of gauze slightly larger than the wound. Next, wrap the gauze around the wound and secure it in place with medical tape. Finally, apply a layer of Vet wrap over the gauze to keep it in place.
12. Monitor the Wound
After removing the stitches, you’ll need to monitor the wound closely. Check the area daily for any signs of infection, such as redness, swelling, or discharge. If you notice any of these signs, then you should take your dog to the vet as soon as possible. It would help if you also kept an eye on the wound to ensure it is healing properly. The area should start to close within a week.
Tips and Warnings on How to Remove Stitches From a Dog:
Tips:
- Be sure to have everything you need before beginning. This includes a sharp pair of scissors, sterile gauze pads, and tweezers.
- Gather your dog in your lap with its head facing away from you. If your dog is large, have someone help you hold him steady.
- Starting at the base of the stitch nearest the skin, carefully snip through the thread with your scissors. Do not cut the skin!
- Once the thread is cut, you can pull the rest of the stitch out with your fingers or tweezers.
- Moisten a gauze pad with water and gently clean the area around the removed stitches.
Warnings:
- Do not attempt to remove stitches if you are not comfortable doing so. It is best to leave this task to a professional.
- Be careful not to cut your dog’s skin while removing the stitches. Cut only the thread.
- If your dog seems to be in pain, stop immediately and seek professional help.
- Do not remove stitches before they are supposed to be taken out. This could cause infection or other complications.
- Never try to remove stitches with your teeth! This is extremely dangerous and could result in serious injury.
Conclusion
So there you have it! Now you know how to remove stitches from a dog. Follow our outlined steps, and you’ll have no problem taking care of your dog’s stitches. Remember to be careful and take your time, and you’ll be fine. If you have any questions, write them down in the comment section below, and we’ll be happy to help you out.