If you’re a cat owner, then you know that your furry friend likes to litter. And whether you have a box in the bathroom or bedroom, you’ve got at least one wall with a faint scent of kitty litter to protect your walls from urine and fecal matter. In this guide, we’ll give you a few tips on how to protect walls around litter box. Happy cleaning!
There are a few reasons it’s essential to protect walls around the litter boxes. First and foremost, urine and fecal matter can cause permanent damage to your walls. Additionally, the smell of kitty litter can be overwhelming and permeate throughout your home. Lastly, if you have guests, they may not be too thrilled about seeing or smelling a litter box in your home.
Contents
Things You’ll Need
To protect the walls around your litter box, you’ll need:
- Plastic sheet (Butcher’s paper works too!)
- Tape measure
- Pencil/eraser combo or wax marker
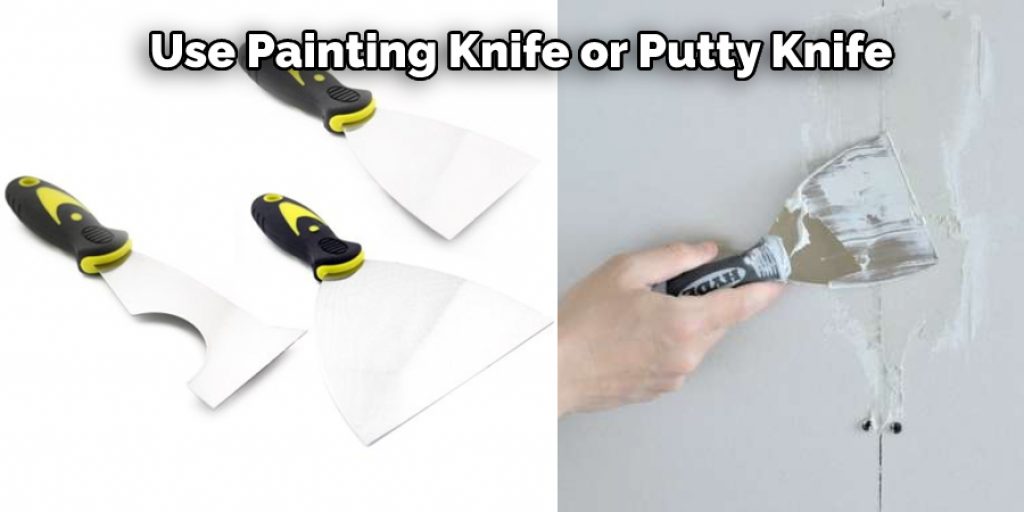
- Painting knife or putty knife
How to Protect Walls Around Litter Box Step by Step Guide
Step 1: Measure the Areas Where You are Going to Protect:
Measure how high you want your wall to go. If you have mold, it should be the height of the molding plus an inch or two so that there is no gap between your litter box and walls. Measure how far out you want your wall to extend; this will depend on how much of the wall you are willing to expose. Measure how large of a square you want your wall to cover.
Step 2: Plan How to Protect Walls Around Litter Box:
Once you have measured, decide how many pieces of wood paneling will be necessary for the project. Also, remember that it is better to err on making your piece too big and cutting it down to fit.
If you nail the piece too short, it will be noticeable and look strange next to the other wall. The edges of your wood panels will be visible; therefore, you should pay attention that they are straight and not crooked when measuring how high up on the wall they should go.
Step 3: Buy the Wood Paneling
You will need to purchase some pressed wood paneling. The plywood floor panels are ideal for this project because they come in 4′ x 8′ sheets and are easy to install yourself how to protect walls around litter box step by step.
In addition, these panels often come pre-cut into squares of four feet. This will make the project more accessible because you do not have to cut the paneling to protect walls around the litter box step by step.
Step 4: Cut Pieces of Wood Paneling:
Using a miter saw or a circular saw, cut the pieces of wood paneling to the sizes you measured for. Be careful while cutting because there is a chance that you could injure yourself on some of their sharper sides and edges. Also, try not to make too many cuts with the same blade because it will become damaged from being worn down and dull and may not be able to cut as efficiently after that.
Step 5: Prepare Wood for Installation:
Measure where you are going to install the pet gate. The three boards should each be 6″ longer than the opening they are being mounted to so that they can overlap at corners or where walls intersect. Arrange your panels how you think they will fit best in the opening and attach them with panels screws. Drill pilot holes in top and bottom corners to prevent blowout, especially if using hardwood.
Step 6: Start Nailing the Paneling:
Start nailing the wood panels to your wall in any place where there is a stud waiting for you to put it up. Use a hammer to nail them into the studs of your walls. Instead of how mortar does, you can tell how studs are by how they go into the wall.
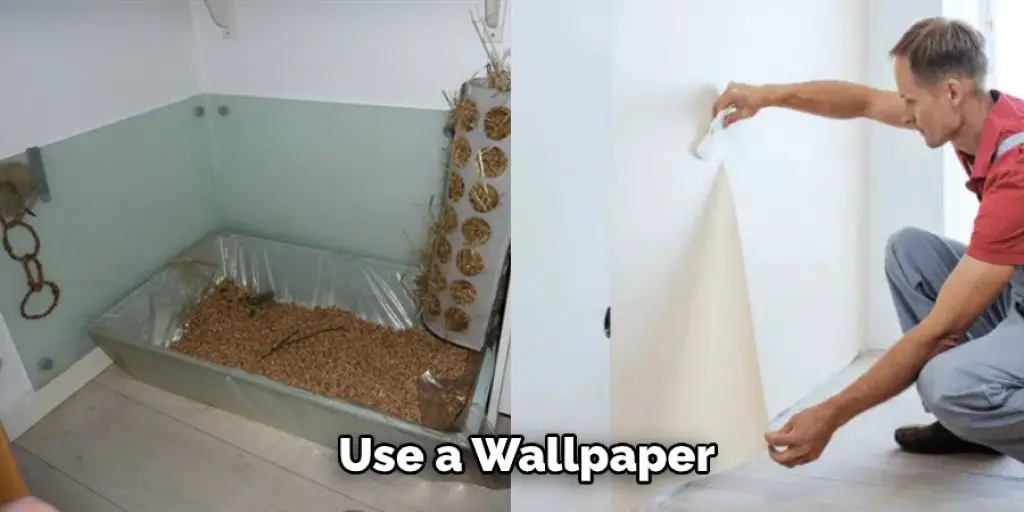
Try to space out the pieces of wood paneling evenly and make sure that you nail them tightly, so there is little chance for shifting. Keep putting up more pieces of your wood paneling until you have completely covered your wall in protective wallpaper.
Step 7: Clean the Mess Up:
If you made any mess around where you were working, you should clean it up before continuing with step 9.
Step 8: Paint the Wood Paneling to Match Any Part of Your Walls that You Decided to Show.
Paint the wood paneling to match any part of your walls that you decided to show. If the wood panels are too long, they could be cut down with a saw and then sanded smooth on their edges before being painted. Alternatively, you can fill in gaps with a similar colored caulk or spackling paste if they’re too short.
Step 9: Enjoy
After the paint dries, your protective wall wallpaper will be complete. You can place whatever you want up against it and even touch it without leaving a stain behind. To clean the walls surrounding your litter box, all you need is to sweep or vacuum around them occasionally. You can now sit back and enjoy how you have protected your walls around the litter box.
Why Does My Cat Scratch The Wall By Her Food?
1. Your Cat Conceals The Odor Of Her Food:
One reason your cat might be scratching the walls near her food is that she’s trying to conceal the odor of her food. Cats are very scent-oriented animals, and they often try to hide their food’s scent from other animals. If your cat is scratching the walls near her food, it’s likely that she’s trying to cover up the smell of her food.
2. She Protects Kittens:
Another reason your cat might be scratching the walls near her food is that she’s trying to protect her kittens. If your cat has kittens, she’ll do everything she can to protect them from harm. One way she might do this is by trying to keep other animals away from her food. By scratching the walls near her food, your cat is sending a message to other animals that this area is off-limits.
3. You Give Her Excessive Food:
If you’re giving your cat too much food, she might start scratching the walls near her food bowl to try and cover up the scent. When a cat has too much food, she often starts to urinate and defecate more frequently. This can cause the smell of her food to become stronger, and she’ll start to scratch the walls near her food bowl in an attempt to cover it up.
4. She’s Trying To Mark Her Territory:
Another possible explanation for why your cat is scratching the walls near her food is that she’s trying to mark her territory. Cats use their scratches and urine to mark their territory as their own. If your cat is scratching the walls near her food, it’s possible that she’s trying to claim the area around her food bowl as her territory.
Frequently Asked Question
What Is Clumping Litter, Non-Clumping Litter, and Clay Litter?
Clumping litter is a type of litter that is made from materials that form clumps when wet. This type of litter is usually made from materials such as bentonite, which is a type of clay.
Non-clumping litter, on the other hand, is a type of litter that does not form clumps when wet. This type of litter is usually made from materials such as corn cobs, wheat, or recycled paper. Clay litter is a type of litter that is made from natural clay.
How Can I Prevent My Cat from Urinating on The Walls of My House?
There are a few things that you can do to prevent your cat from urinating on the walls of your house. One thing that you can do is to provide your cat with a litter box. Another thing that you can do is to make sure that your cat has access to plenty of water. You can also provide your cat with a scratching post so that it can scratch its claws. Finally, you can also keep your cat’s litter box clean.
What Kind of Litter Should I Use for My Cats?
There are a few things that you should consider when choosing a litter for your cats. One thing that you should consider is whether you want clumping or non-clumping litter. Another thing that you should consider is how easy the litter is to clean. You may also want to consider how much your cat likes to scratch. Finally, it would help if you considered how much the litter costs.
What Are the Best Ways to Protect Walls Around Litter Boxes?
There are a few ways to protect the walls around your cat’s litter box. One way is to use a clumping litter, which will form clumps when wet. This will help to keep the litter from spreading to the surrounding area.
You can also use a non-clumping litter, which will not form clumps when wet. This may be a better option if you have a particularly messy cat. You can also create a barrier around the litter box using furniture or other items. Finally, you can try to train your cat to use the litter box more carefully.

You can check it out to Wrap a Cat Neck Wound
Conclusion
So, if you are one of the many people who have a litter box in your home, it is important to take preventative steps to protect your walls from becoming stained. By following the simple tips we’ve outlined in this post, you can keep your walls looking new and fresh for years to come.
Have you had any trouble keeping your walls clean around your litter box? Let us know in the comments below! Thanks for reading our post about how to protect walls around litter box.