
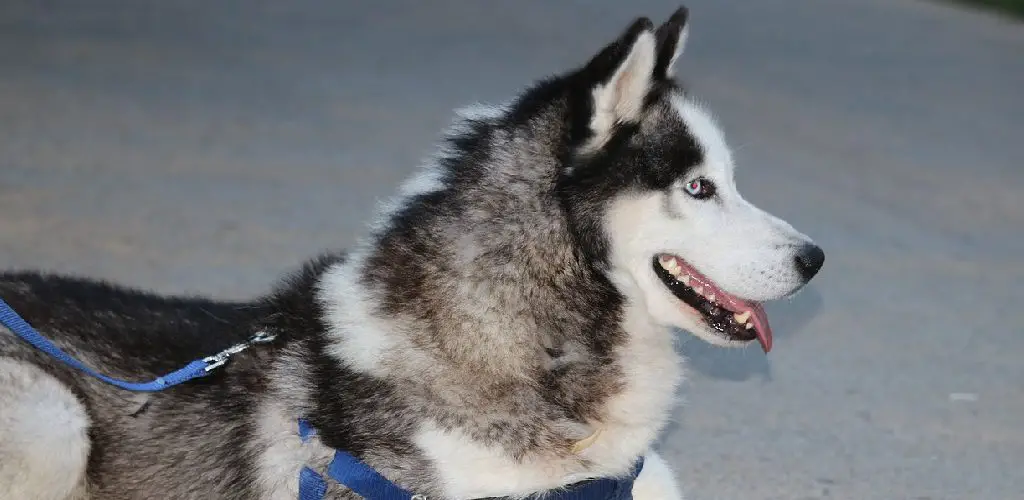
Training your dog to pull a sled is a refreshing winter activity! In this post, we’ll show you how to make a dog sledding harness for your pup that will keep them safe and comfortable while they’re pulling you through the snow. So stay warm and have fun this winter with your furry friend!
Contents
What Is a Dog Sledding Harness
A sled dog harness is a piece of equipment used by mushers to secure dogs to their sleds. The harnesses distribute the pulling force evenly across the dog’s body, preventing injuries. They also allow the musher to control the speed and direction of the team.
Sled dog harnesses typically have a padded chest plate, belly band, and straps over the shoulders and around the hips. The harness is attached to the sled by a gangline, consisting of a towline (attached to the sled) and taglines (attached to each dog).
When choosing a sled dog harness, it is important to select one that is comfortable for the dog and fits properly. Otherwise, the dog may not run comfortably and could pull out of the harness.
Why Should You Make a Dog Sledding Harness?
If you live in a cold climate and enjoy spending time outdoors, you may be considering making your dog sledding harness. Dog sledding is a great way to exercise your dog while enjoying the scenery, and it can be a fun activity for the whole family. But before you hit the trails, it’s important to make sure that your dog is properly outfitted with a sledding harness.
A well-fitting harness will help distribute the sled’s weight evenly and prevent your dog from getting injured. It’s also important to choose a comfortable harness for your dog to wear that won’t rub or chafe. If you’re unsure where to start, there are plenty of online resources and store-bought kits that can help you make a dog sledding harness that is right for your pup.
Required Materials
- Measurement tape
- Scissors
- Sewing machine (or needle and thread)
- Padding (optional)
- Leather or nylon strap (optional)
How to Make a Dog Sledding Harness Step by Step Guide
Step 1: Gathering the Materials
In order to make a dog sledding harness, you will need several materials. You will need a piece of sturdy fabric at least 2 feet wide and 4 feet long, two strips of Velcro about 8 inches long, a buckle closure, scissors, a sewing machine (or needle and thread), and a tape measure.
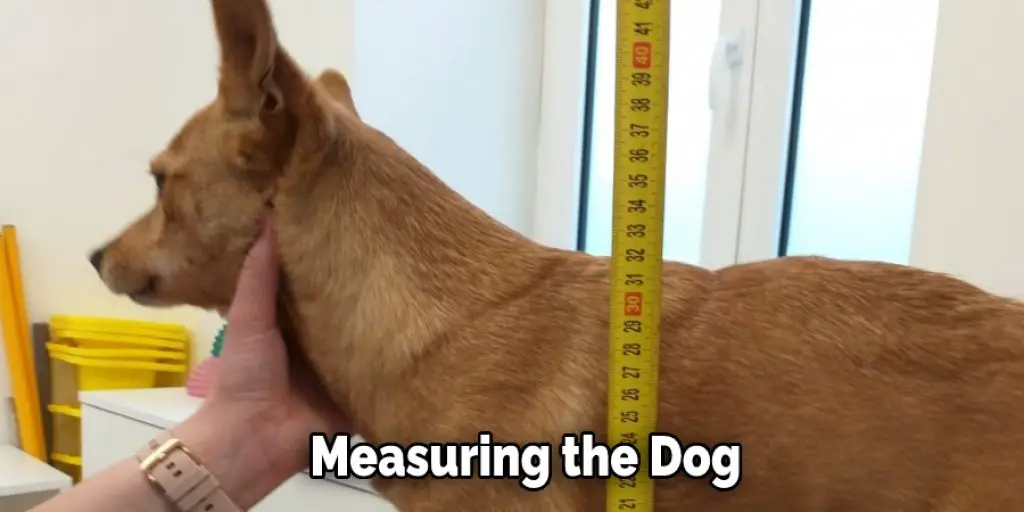
Step 2: Measuring the Dog
To make sure that your harness fits your dog correctly, you need to measure them. The easiest way to do this is to have your dog stand in a relaxed position and measure around the widest part of their rib cage. Add 2 inches to this measurement and cut the fabric to this size.
Step 3: Cutting the Fabric
Now, you will need to cut out the fabric for your harness. First, ensure that the fabric is big enough to fit comfortably around your dog’s chest and back. You may also want to add a few inches of extra fabric to each side to create straps for the buckles. Once you have cut out the fabric, it’s time to start sewing!
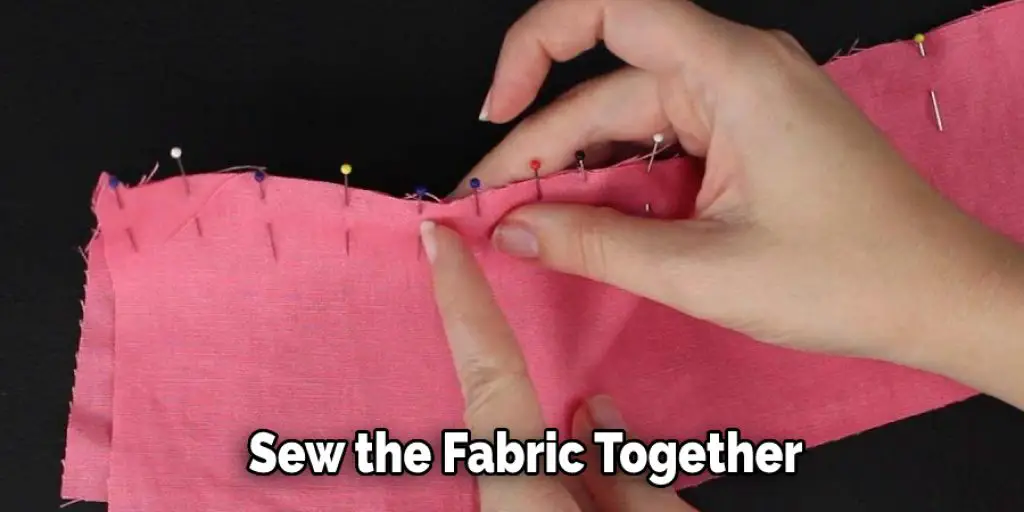
Step 4: Sew the Fabric Together
Once you have cut out all of the fabric pieces, it is time to sew them together. Start by sewing the two large rectangles together along the long sides, using a stitch that can withstand wear and tear (such as a zigzag stitch). Then, sew the two small rectangles together along the short sides to create a tube. Finally, sew the ends of the tube together to create a circle.
Step 5: Adding the Straps
Once you have the main part of the harness done, it’s time to add the straps. This will keep your dog in place while sledding and distribute the weight evenly. There are a few different ways to do this, so choose what works best.
One option is to use straps around your dog’s chest and back. This will keep them secure, but it can be tricky to get the right fit.
Another option is to use a strap that goes around their waist. This is easier to adjust, but it might not be as secure.
Step 6: Attaching the Buckle
Now it is time to attach the buckle. This part can be tricky, so if you are not confident in your ability to do it, ask someone else to help you. First, thread the end of the strap through the buckle. Then, fold it back over the top of the strap and pinch it together. Use a safety pin to hold it in place. Next, do the same thing on the other side.
Step 7: Test It
The best way to make sure your harness is safe and comfortable for your dog is to test it out. Have your dog wear the harness for a little while and see how they react. If everything seems good, you’re ready to go sledding!
Dog sledding is a great winter activity that you and your pet can enjoy. A harness is essential for keeping your dog safe while sledding, and now you know how to make one. Always test the harness before using it, and have a great time on the slopes!
Now that you know how to make a dog sledding harness test it out before using it. Make sure your dog is comfortable wearing it and safe for them to use. Then get out there and have some fun!
Can You Make Your Own Dog Sledding Harness?
Dog sledding is a popular winter activity, but it can be expensive to get started. While you can purchase a sled and harness from a sporting goods store, making your equipment is also possible. With a little bit of know-how, you can create a dog sledding harness that will be as effective as any store-bought model.
The most important part of the harness is the webbing. You’ll need to find a strong, durable material that can withstand the elements. Nylon webbing is a good option, but you can also use Kevlar or polyester.
Once you’ve selected your webbing, cut it into strips about four inches wide. Next, use a sewing machine to attach the strips. Make sure the seams are strong and durable, as they will be under stress.
The next step is to create the attachment points for the harness. You’ll need two pieces of webbing that are about 12 inches long each. Sew one end of each piece to the top of the harness, ensuring they are evenly spaced. These pieces will be used to attach the dog’s collar.
The final step is to add the padding. Cut a piece of fleece that is about six inches wide and 12 inches long. Wrap it around the harness, making sure that it covers the seams. Sew it in place, making sure that it is securely attached.
How Do You Measure a Dog for A Harness?
There are a few things to keep in mind when measuring a dog for a harness. First, the chest is the most important measurement. The harness should be snug around the chest but not too tight. Then, measure the girth, the distance around the dog’s body at the widest point (usually just behind the front legs).
Finally, measure the length, which is the distance from the base of the neck to the base of the tail. Keep in mind that harnesses come in different sizes and styles, so it’s important to choose one that is comfortable for your dog and will fit properly. With a little bit of planning, you can find the perfect harness for your furry friend. Keep reading for more information about how to make a dog sledding harness.
What Are the Different Types of Dog Harnesses?
There are many different types of dog harnesses on the market, but there are four main types that you will likely see. They are as follows:
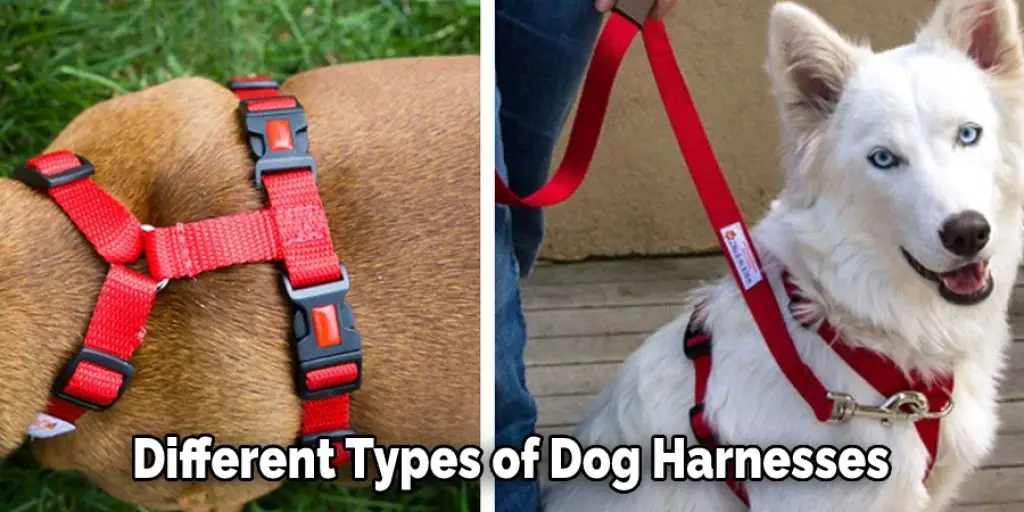
Front Attachment Harnesses:
This type of harness goes around your dog’s chest and has two attachment points for a leash – one in the front and one in the back. This type of harness is good for dogs who pull on the leash, as it will evenly distribute the force across their chest and shoulders.
Chest Attachment Harnesses:
This harness also goes around your dog’s chest, but it has only one attachment point for a leash. This type of harness is not as good for dogs who pull on the leash, as it will put all the force on your dog’s chest.
Back Attachment Harnesses:
This type of harness attaches to your dog’s back and has two attachment points for a leash – one in the front and one in the back. This type of harness is good for dogs trained not to pull on the leash, as it will keep the leash taut and prevent your dog from pulling.
Frequently Asked Question
What Materials Are Needed to Make a Dog Harness?
You will need a few materials to make a dog sledding harness. The most important material is webbing. This is the thick, sturdy fabric that will be used to create the straps for the harness. You will also need some closure system, such as a buckle or Velcro, and some D-rings or O-rings.
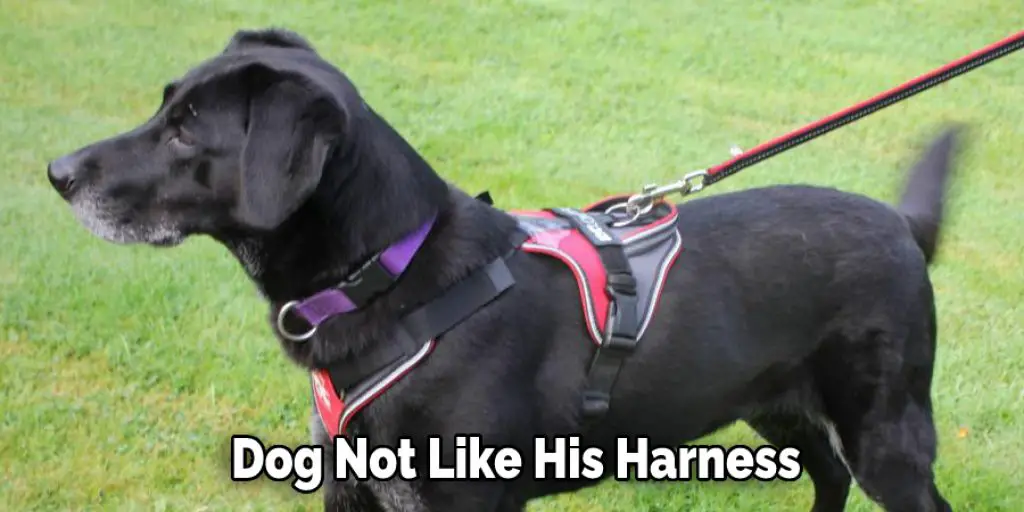
Why Does My Dog Not Like His Harness?
There could be a few reasons why your dog doesn’t like his harness. Perhaps it’s too tight and uncomfortable, or it’s not the right size for your dog. If your dog is pulling on the leash, the harness can also be ineffective in preventing choking. Be sure to take your dog for a walk and try out the harness before going on a long sledding trip.
Conclusion
If you’re looking for a fun winter activity, consider dog sledding! It’s a great way to get outside and enjoy the cold weather. And if you don’t feel like making your harness, we’ve got you covered. Just visit our website to order one today. Thanks for reading our post about how to make a dog sledding harness.