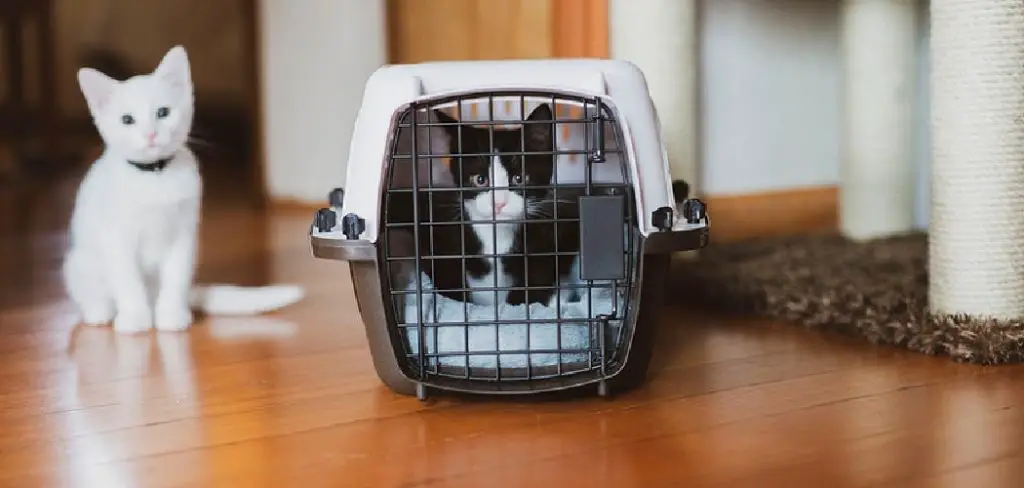
If you’re like most cat owners, you probably use a carrier to transport your feline friend to the vet or other places. But if you don’t clean it regularly, it can quickly become a germ-filled nightmare. In this post, we’ll teach you how to clean a cat carrier and keep it bacteria-free. So read on for tips that will help make your kitty’s trip more comfortable – and less smelly!

Contents
What Is a Cat Carrier?
A cat carrier is a necessity for any feline-loving household. Not only do they provide a safe and comfortable space for your cat when traveling, but they also offer a convenient way to transport your cat to the vet or groomer. When choosing a carrier, it is important to consider the size of your cat and the type of material that will best suit its needs.
For example, small cats may feel more secure in a soft-sided carrier, while larger cats may prefer a hard-sided carrier with plenty of space to move around. No matter what carrier you choose, be sure to provide your cat with plenty of bedding and toys to keep them entertained during their journey.
Why It’s Important to Clean a Cat Carrier?
Cats are often seen as clean creatures, but that doesn’t mean their carrier doesn’t need to be cleaned regularly. A dirty carrier can be uncomfortable for your cat and make them more prone to illness. Plus, it’s just plain gross. Here are a few reasons why you should clean your cat’s carrier regularly:
1. To prevent illness: A dirty carrier is the perfect breeding ground for bacteria and other nasty organisms. These can make your cat sick, and no one wants that. Regular cleaning will help to keep your cat healthy.
2. To keep things smelling fresh: Let’s face it, a dirty carrier can start to smell pretty rank. This is especially true if it’s made of fabric or has any padding. Regular cleaning will help keep things smelling fresh and make you and your cat happier.
3. To remove stains: If your cat has an accident in its carrier, it’s important to clean it up right away. Otherwise, the stain may become permanent. Regular cleaning will also help remove any built-up dirt and grime that could lead to staining.
So there you have three good reasons to keep your cat’s carrier clean. But how do you do it? Read on for our step-by-step guide.

How to Clean a Cat Carrier Step-by-Step Guide
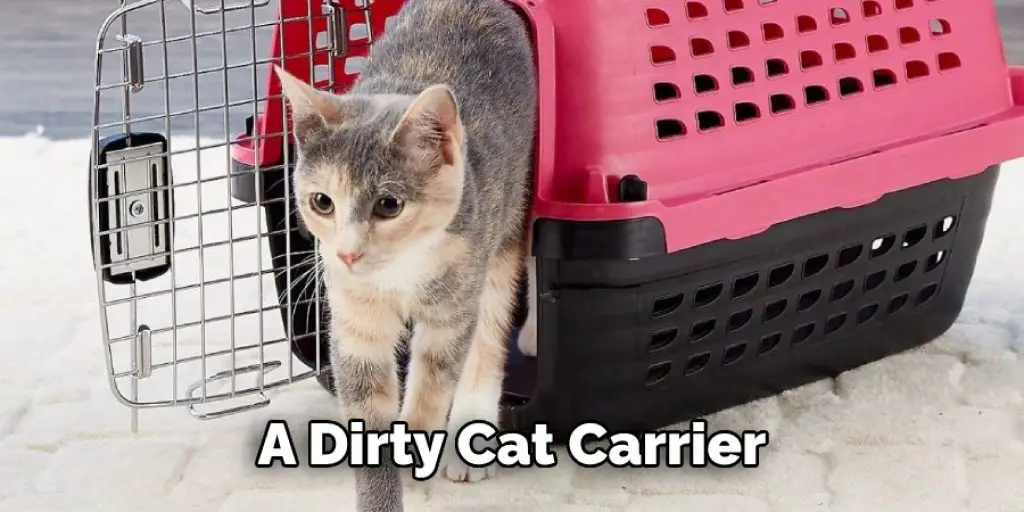
A dirty cat carrier is not only unsightly but can also be a breeding ground for bacteria and germs. That’s why it’s important to clean your cat carrier regularly. Here’s how to do it:
Step 1: Remove All the Contents of The Carrier
Before cleaning the carrier, you’ll need to remove all the contents, including any toys, bedding, or food bowls. This will make it easier to clean all surfaces of the carrier.
Step 2: Take the Carrier Outside
If possible, take the carrier outside before you start cleaning it. This will help to avoid making a mess in your home. If you do not have a hose, you can use a bucket of water and a sponge.
Step 3: Use a Hose to Rinse Off Any Dirt or Debris
If you’re using a hose, rinse off the carrier to remove any dirt or debris. If you’re using a bucket, fill it with hot water and dish soap, and then use a sponge to scrub the carrier.
Step 4: Fill a Bucket with Hot Water and Dish Soap
You will need to fill a bucket with hot water and dish soap. You can use any dish soap, but you may want to consider using natural dish soap to avoid harming your cat.
Step 5: Scrub the Carrier with A Brush
Once you have filled the bucket with hot water and dish soap, you will want to scrub the carrier with a brush. This will help remove any dirt, hair, and other debris that may be stuck on the surface of the carrier. Make sure to pay special attention to areas that seem particularly dirty.
Step 6: Rinse Thoroughly and Let Dry Completely
After you have scrubbed the carrier, be sure to rinse it out completely with clean water. Then, let the carrier dry completely in a well-ventilated area before using it again. If you are in a hurry, you can use a hairdryer on the cool setting to speed up the drying process.
Step 7: Repeat as Needed
You should clean your cat carrier as often as needed, but at least once a month is a good rule of thumb. Of course, if you use your carrier frequently, you may need to clean it more often.
There you have it! Our guide on how to clean a cat carrier. By following these simple steps, you can help to keep your carrier clean and bacteria-free.
How to Deep Clean a Cat Carrier
Anyone who has owned a cat knows it can be notoriously difficult to clean. Their fur seems to attract every bit of dirt and dust in the house, and they are constantly shedding. This can make it hard to keep their things clean, especially their carrier. So if you’re planning on taking your cat on a trip, it’s important to make sure their carrier is clean and comfortable. Here’s how to give it a deep cleaning:
First, remove everything from the carrier, including any bedding or toys. Next, vacuum the inside of the carrier, removing any dirt or debris. Next, wash all of the removable parts with warm soapy water. Rinse them thoroughly and dry them completely before putting them back in the carrier.
Finally, wipe down the inside and outside of the carrier with a disinfectant solution. This will help remove any bacteria or viruses that could harm your cat. By following these steps, you can ensure that your cat’s carrier is clean and safe for travel.
How to Get Rid of The Smell in A Cat Carrier
Cat parents know all too well the distinct smell from their kitty’s carrier. The smell can quickly become overwhelming, whether from travel or vet visits. Luckily, a few simple steps can be taken to get rid of the stink. First, empty the carrier and give it a good scrub with soapy water. Then, rinse it thoroughly and allow it to air dry completely.
Once it’s dry, sprinkle baking soda on the bottom of the carrier and place a clean towel over the top. Finally, put your cat in its carrier and close the door. The baking soda will help absorb any odors, and the towel will help keep things clean. With these simple tips, you’ll be able to keep your cat’s carrier smelling fresh and clean.

How to Disinfect a Cat Carrier
A cat carrier is a great way to transport your feline friend, but it’s important to make sure that it’s clean and disinfected before each use. The best way to do this is to soak the carrier in a mixture of 1 part bleach to 32 parts water for about 10 minutes. Be sure to rinse it thoroughly afterward so there is no residual bleach left behind, as this could be harmful to your cat.
You can also disinfect the carrier by wiping it down with a solution of 1 part vinegar to 4 parts water. Finally, allow the carrier to air dry completely before using it again. By taking these simple steps, you can help to keep your cat safe and healthy while on the go.
How to Clean a Cat Carrier Naturally
Cats are naturally clean animals and don’t like being in a dirty environment. So if you use a carrier for your cat, it’s important to keep it clean so that it will be comfortable. There are a few easy ways to clean a cat carrier naturally. First, mix equal parts water and white vinegar. Then, using a sponge or cloth, wipe down the inside and outside of the carrier with the mixture.
Rinse the carrier well with water and let it air dry. You can also sprinkle baking soda on the inside of the carrier and let it sit for 15 minutes before vacuuming it. This will help to absorb any odors. Finally, you can place a small dish of fresh catnip inside the carrier to help keep your cat calm while traveling. By following these simple steps, you can easily keep your cat carrier clean and fresh.
Frequently Asked Question
What Can I Use to Clean a Cat Carrier?
You can use a variety of items to clean a cat carrier. A simple option is to use soap and water. You can also use a pet-safe cleaner or a mixture of vinegar and water. Be sure to rinse the carrier thoroughly after cleaning it to remove any residue.
How Often Do I Need to Clean My Cat Carrier?
The answer to this question depends on how often your cat carrier is used. If it’s only used a few times a year, then you can probably get away with cleaning it just once a year. However, if it’s used regularly, you’ll need to clean it more often at least every month.

Conclusion
So, there you have it how to clean a cat carrier. It’s not hard at all, and if you do it regularly, your cat will be much happier (and so will you). Have any tips of your own? Let us know in the comments below!


