
Carving a wood rabbit can be a great project for beginners and experts. This tutorial will show you how to carve a rabbit out of wood using only a few simple steps. So, let’s get started!
Contents
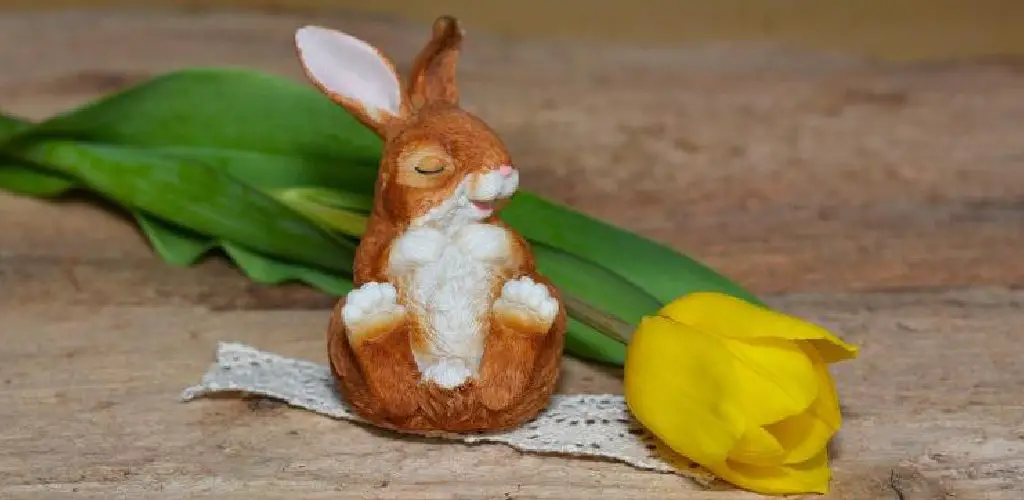
Why Should You Crave a Rabbit Out of Wood?
There are many reasons you should consider adding a rabbit to your family. They make great pets, and they’re also fun to watch. But there are some specific reasons why a rabbit made out of wood would be a great addition to your home. Here are just a few of them:
- Wood rabbits are unique and eye-catching. They’ll turn heads when people come over to your house.
- Wood rabbits are low maintenance. You won’t have to worry about them getting dirty or needing a lot of care.
- Wood rabbits are durable. They’ll last for years, and you won’t have to worry about them breaking easily.
- Wood rabbits are affordable. You can find them for a fraction of the price of other types of rabbits.
Things You’ll Need
In order to carve a rabbit out of wood, you will need the following materials:
- A piece of wood that is at least 12 inches long and 6 inches wide
- A knife
- A saw
- Sandpaper
- A paintbrush (optional)
How to Carve a Rabbit out Of Wood Step by Step Guide
Step 1: Trace the Outline
The first step is to trace the rabbit’s outline onto your piece of wood. You can use a template or freehand it, whichever you’re more comfortable with.
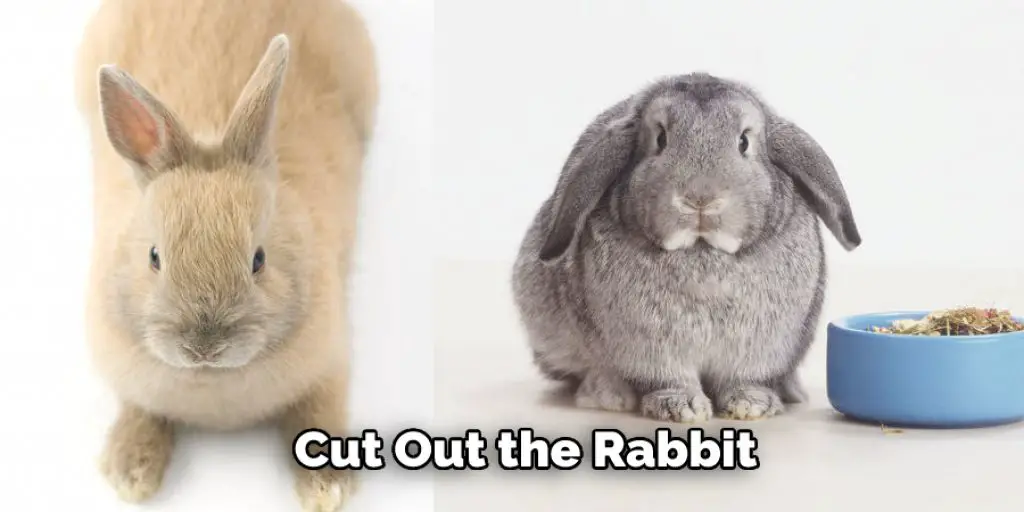
Step 2: Cut Out the Rabbit
With a sharp knife, cut out the general shape of the rabbit. You can be as precise as you want, but remember that you will be sanding it down later, so don’t worry too much about making mistakes.
When you’re done cutting out the shape of the rabbit, use a smaller knife to define the finer details, such as the ears and nose.
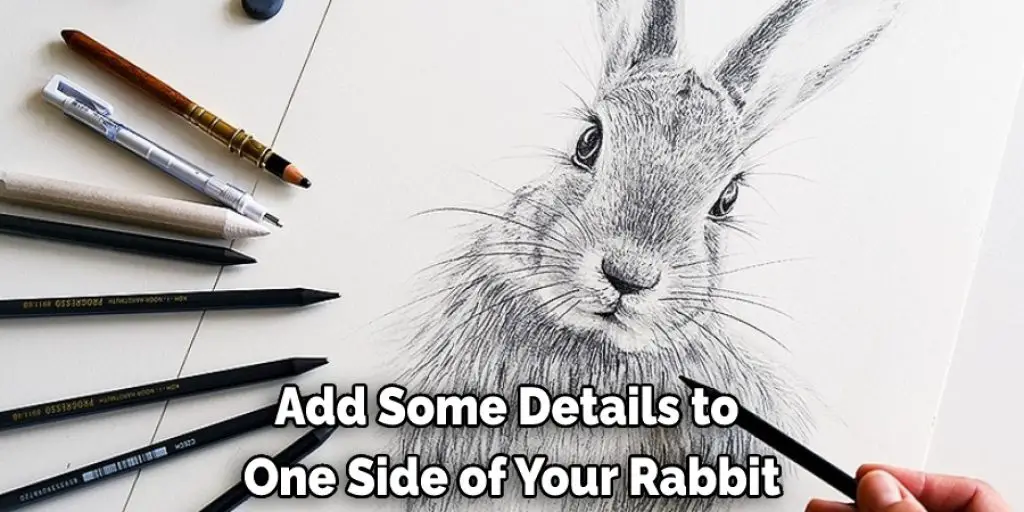
Step 3: Add Details on One Side
In this step, you’ll want to add some details to one side of your rabbit. This includes the eyes, nose, and ears. You can use various tools for this, such as a knife, a chisel, or a gouge. Be careful not to press too hard on the wood, or you may damage your work.
Once you’ve added these details, it’s time to start sanding. Start with coarse-grit sandpaper, and then progress to a finer grit. This will help to smooth out the surface of the wood and give your rabbit a more polished appearance.
Step 4: Mirror Details on the Other Side
Once you have finished carving the details on one side of the rabbit, it is time to mirror them on the other side. This will ensure that your rabbit looks symmetrical and finished. Follow the same steps as before, being careful to pay attention to the placement of each detail.
Step 5: Add Details on the Top
Once you have the basic body of the rabbit carved out, it’s time to add some details to the top. This will give your carving more character and look more like a real rabbit.
Step 6: Clean Up Cuts and Smooth Out
Now is the time to clean up your cuts and smooth out the surface of the wood. Again, take your time and make sure everything looks nice and neat. You can use sandpaper to do this, or even a knife if you’re careful.
Step 7: Painting
The last step in the process of how to carve a rabbit out of wood is to paint it. This can be done in any way, but I typically use a light brown or tan color for the fur and white for the eyes and teeth. You can also add other details such as highlights or shadows to give your rabbit more dimension. Once the paint is dry, your rabbit is finished!
I hope you enjoyed this tutorial on carving a rabbit out of wood. It’s a fun project that can be completed in a few hours, and the results are impressive.
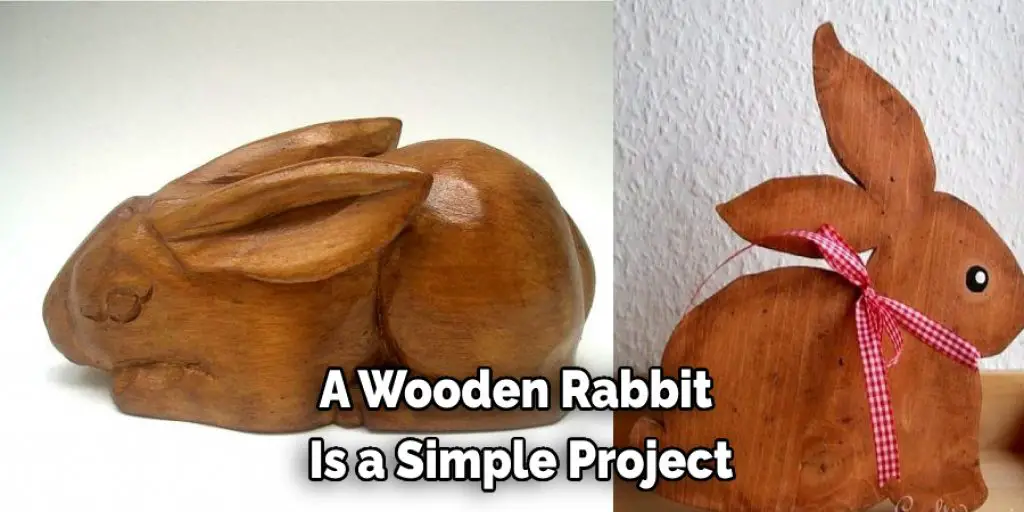
How Do You Carve a Wooden Rabbit?
Carving a wooden rabbit is a simple project that can be completed in just a few steps. First, use a pencil to sketch out the desired design on the piece of wood. Then, for best results, choose a soft and easy piece of wood to carve, such as basswood or butternut.
Next, use a sharp knife or chisel to begin carving out the basic shape of the rabbit. Be sure to work slowly and carefully to avoid making any mistakes. Once the general shape has been carved, use finer tools to add details like the rabbit’s ears, nose, and eyes.
Finally, sand the edges smooth and apply a coat of paint or sealant to protect the wood. Anyone can create a beautifully carved rabbit out of wood with a little time and effort.
How Do You Carve an Animal out Of Wood?
The first step is to find a suitable piece of wood. Next, you will need to consider the size and shape of the wood and the type of animal you want to carve. Once you have found the perfect piece of wood, use a saw to cut it to the desired size and shape.
Next, use a chisel to remove rough edges and create a smooth surface. Once you are happy with the shape of the wood, it is time to start carving. Begin by sketching out the outline of your animal onto the wood. Then, use various carving tools for etching away at the wood, following your outline slowly.
As you carve, keep in mind how you want your animal to look when it is finished. Will it be sitting down, standing up, or jumping? Carve the details of your animal accordingly.
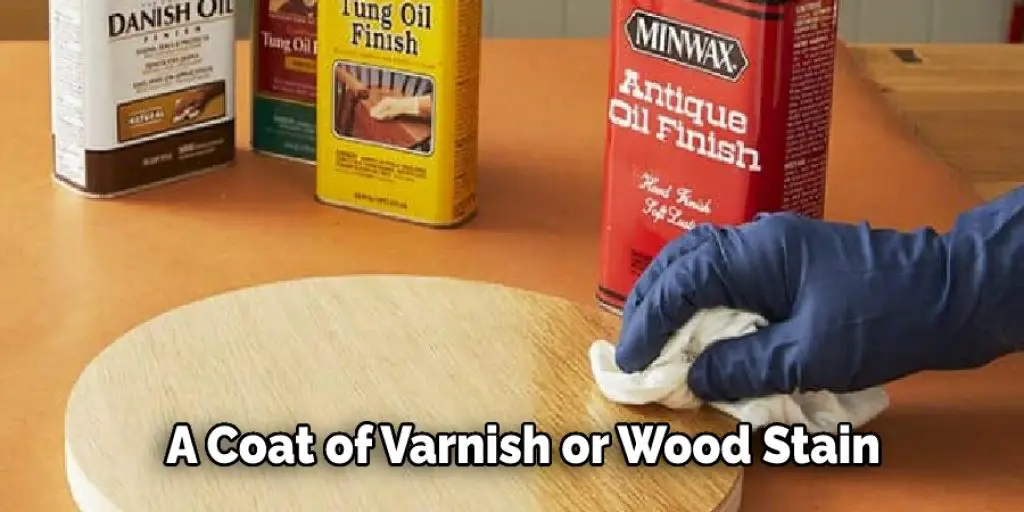
When you are finished carving, use sandpaper to smooth out any rough edges. Then, apply a coat of varnish or wood stain to protect the wood and give it a shiny finish. There you have it! Your very own carved animal out of wood.
How Do You Carve Wood for Beginners?
Carving wood can be a fun and rewarding hobby, but it’s important to have the right tools and know the basics before getting started. For beginners, the best way to start carving is with a simple knife and a piece of softwood. Then, start by sketching out your design on the wood.
Then, use the knife to slowly and carefully carve away at the wood following your line. It’s important to take your time and go slowly at first, as you can always remove more wood, but you can’t put it back.
As you become more comfortable with carving, you can try different tools and techniques to add more detail to your work. Then, with practice, you’ll be able to create beautifully carved pieces of art.
How Do You Wood Carve with A Dremel?
Wood carving is a wonderful hobby that people of all ages can enjoy. It’s a great way to relax and express your creativity. And, best of all, it’s relatively easy to get started. One of the most popular tools for wood carving is the Dremel. This versatile tool can be used to create everything from simple shapes to intricate designs.
When using a Dremel for wood carving, choosing the right bit is important. For simple shapes, a round or oval bit will work well. However, you may want to use a fluted or spiral bit for more complex designs. It’s also important to take your time and work slowly. Start with shallow cuts and gradually deepen them as you go. With a little practice, you’ll be able to create beautiful pieces of wood art. Keep reading for more information about how to carve a rabbit out of wood.
What Type of Wood Is Best for Carving?
When it comes to carving, not all woods are created equal. Different woods have different hardness levels, grain patterns, and other characteristics that make them more or less suitable for carving. So, what type of wood is best for carving?
Generally speaking, hardwoods are the best choice for carving. This is because they are typically harder and easier to carve than softwoods. Additionally, hardwoods tend to have a tighter grain, which helps to prevent chipping and splintering.
Some of the most popular hardwoods for carving include basswood, oak, cherry, and maple. Try one of these woods to get a feel for how they carve if you’re starting. Once you’ve gained some experience, you can experiment with other woods to find the ones you like best.
Frequently Asked Question
What Is a Wood Rabbit?
Wood rabbits, also known as cottontails, are a rabbit species found in North America. They are the most common type of rabbit in the United States. Wood rabbits are named for their fur, which is white except for their ears, tail, and feet, which are all black. They weigh around two pounds and measure about 18 inches in length.
How Difficult Is Wood Carving?
Wood carving is a form of art that many people enjoy. It can be a very relaxing and rewarding hobby, but it can also be quite difficult. The type of wood you are working with, the tools you are using, and the complexity of the design all play a part in how difficult the project will be.
Can You Carve Wood with A Pocket Knife?
Yes, you can carve wood with a pocket knife. It might not be the best idea to try and carve a large piece of wood with a pocket knife, but it can be done for smaller pieces. You’ll need to use a sharp blade and be careful not to cut yourself.
Conclusion
Carving a rabbit out of wood is an art form that takes patience and practice. If you are new to carving, start practicing on a piece of scrap wood before moving on to your final project. With a little bit of skill and some careful planning, you can create an amazing carved rabbit from a woodblock. Thanks for reading our post about how to carve a rabbit out of wood.
You can check it out to Get Rid of Rabbit Pee Smell